Western Reaches
The Western Reaches are worth exploring for the Statue Spell which freezes enemies in their tracks. In addition, Ferazel's Wand is only going to get tougher so you need all of the practice that you can get. Just be sure to have an extra Health Potion before you start this level. If you don't have any then go back to A Scent of Peril and buy one. Read the guide to find out why. If you have any comments or problems with this guide, you can email me. I welcome all criticisms, good and bad.
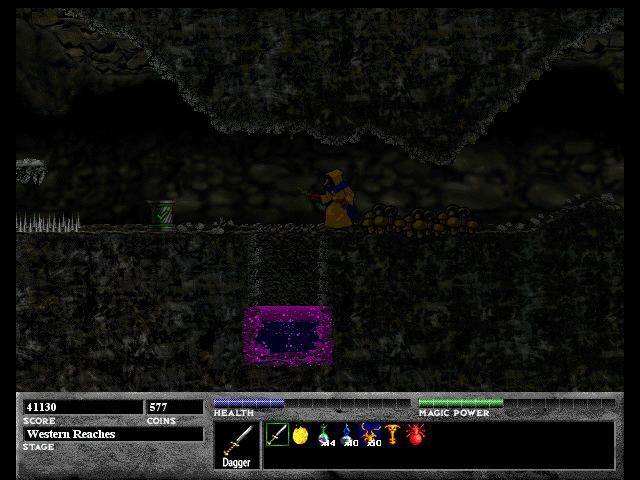
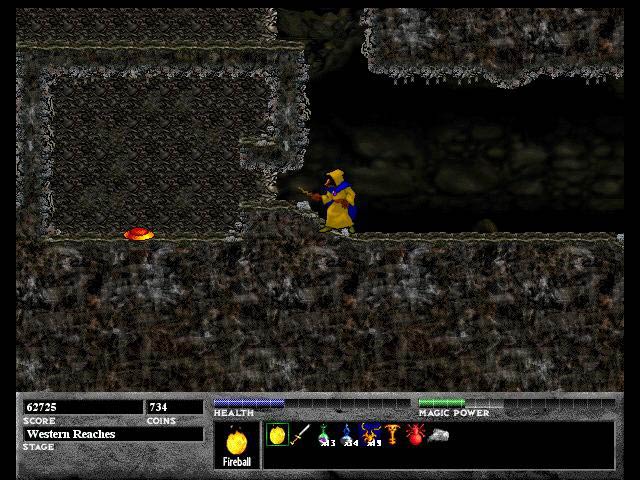
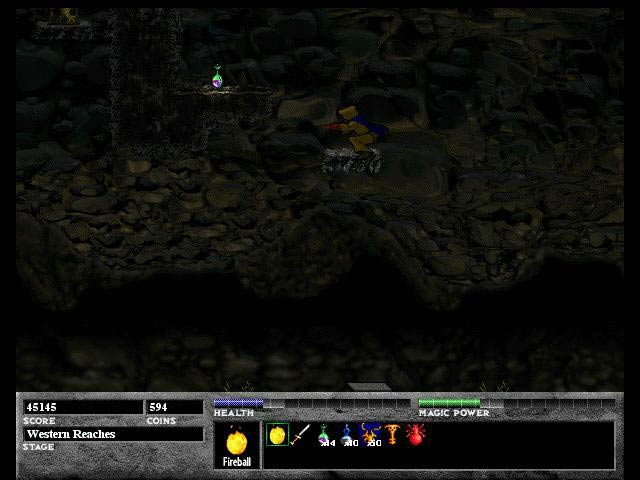
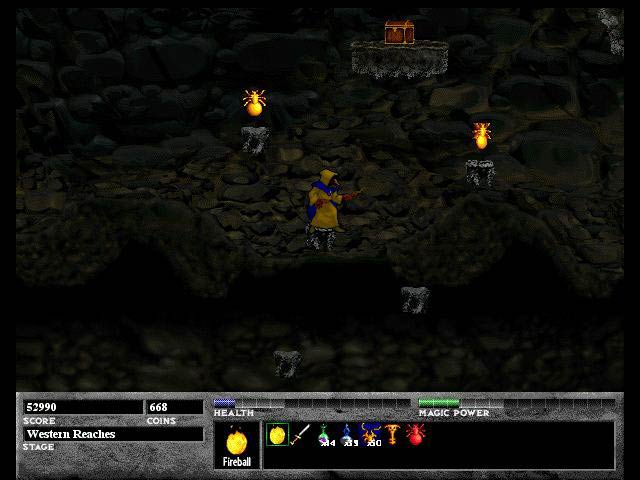
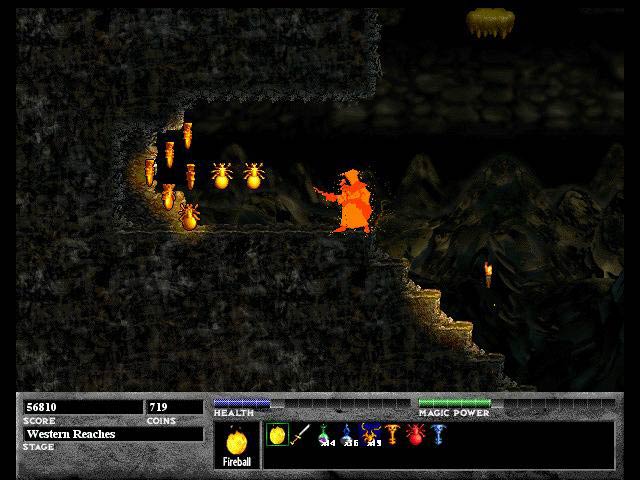
Near the entrace is a buried pool of Ziridium Brine, but how do you get to it? Simply Spin Jump to reach it as you can see in Picture 1. This might be already familiar to you (in that case, I salute you), but I mention it because the Spin Jump has to be remembered. Whenever you see any goody buried, always remember to Spin Jump. It will serve you well. |
![]()
 |
 |
| Picture 2 | Picture 3 |
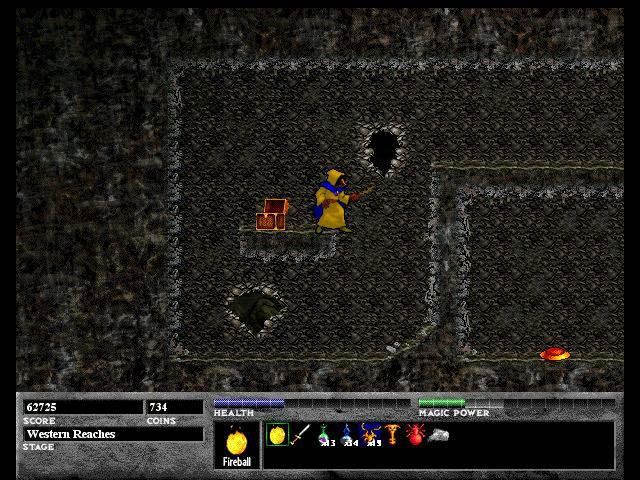
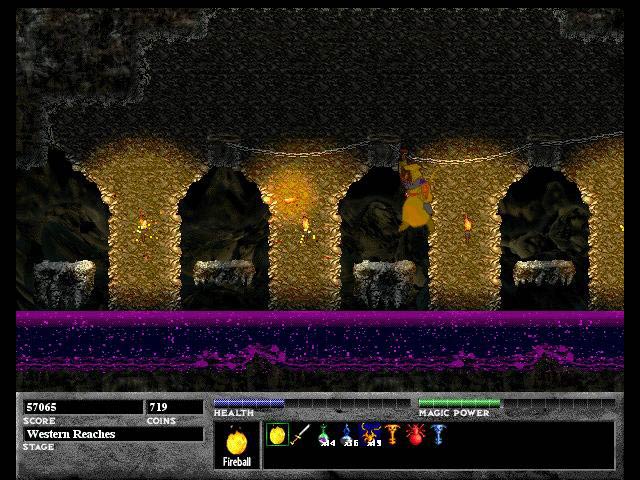
Go left from the Ziridium Brine to see a large lake. Ride the revolving platform to the left so that the platforms are as left as possible as in Picture 2. Then jump on the top platform, then jump to the wall, and finally jump to the floating rock. Shoot to the left so that part of the cave gets destroyed and provides access to the Gold Xichrons. I'm in the process of doing that in Picture 3. Head to the tunnel and travel left.
![]()
 |
 |
| Picture 4 | Picture 5 |
 |
 |
| Picture 6 | Picture 7 |
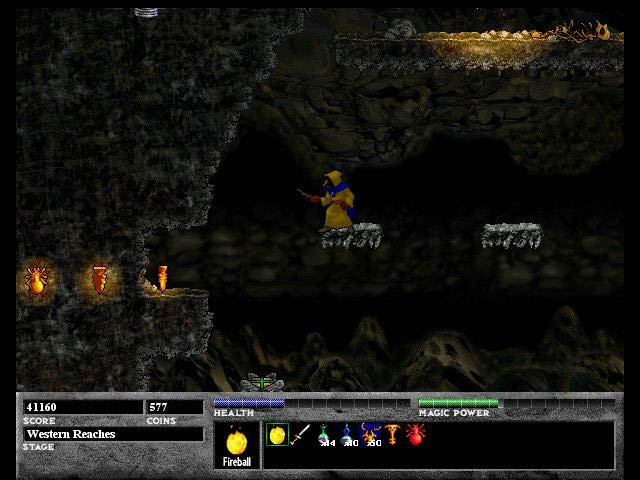
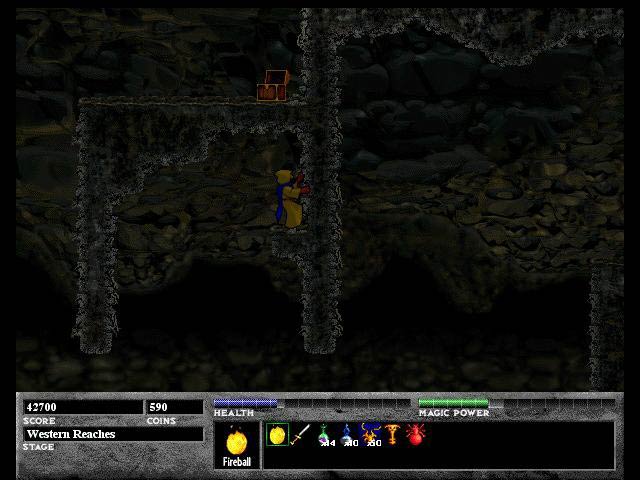
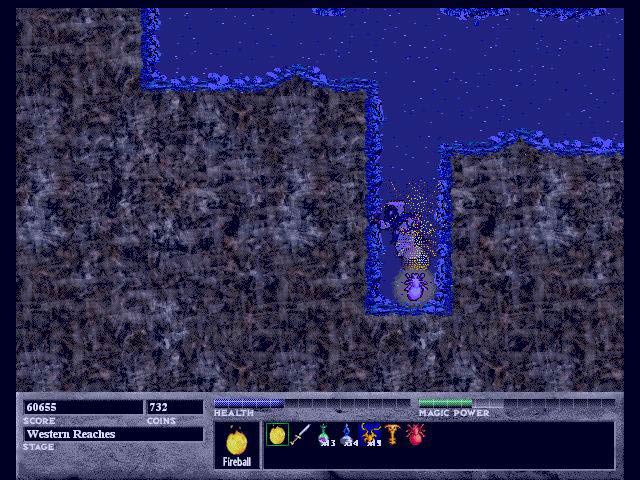
Left of the tunnel is a larger and deeper body of water. First get rid of the bat that flies back and forth. Then go to the bottom of the lake as shown in Picture 4. You can't let yourself go below the bottom of the screen or else you will die. What I did was let myself sink and the second after I grabbed the bottom Xichron, I pressed the jump button. Go back to the surface and head left to meet a goblin with a sword and shield. Kill him and head left to see Picture 5. There's a door up above and a red button that you can't get to. What you have to do is get to the right spot, crouch, and fire so that your fireball hits the button. Picture 6 shows what happens when you do that. Climb up and head left to find a chest with a health potion shown in Picture 7. If this is your only health potion, be sure not to use it. There's someone here who needs a potion much more than you do. There's nothing more here so head back to the first lake.
![]()
Go back to the floating rock shown in Picture 3 and hop right across the rocks. Head north along the right wall and explore the area shown in Picture 8. There will be lots of Xichrons and the chest contains coins. Then head left. |
![]()
 |
 |
| Picture 9 | Picture 10 |
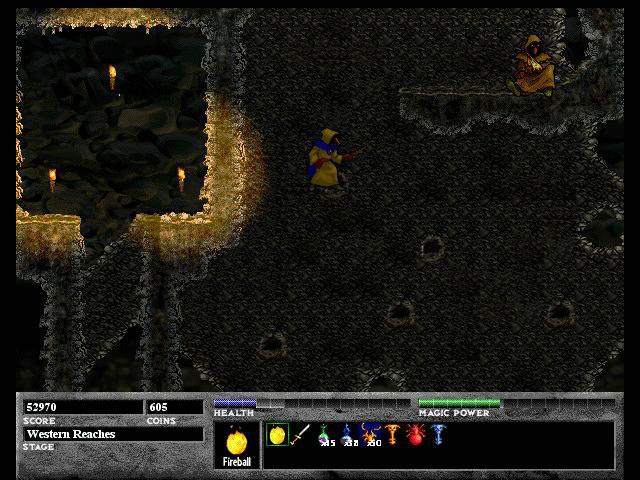
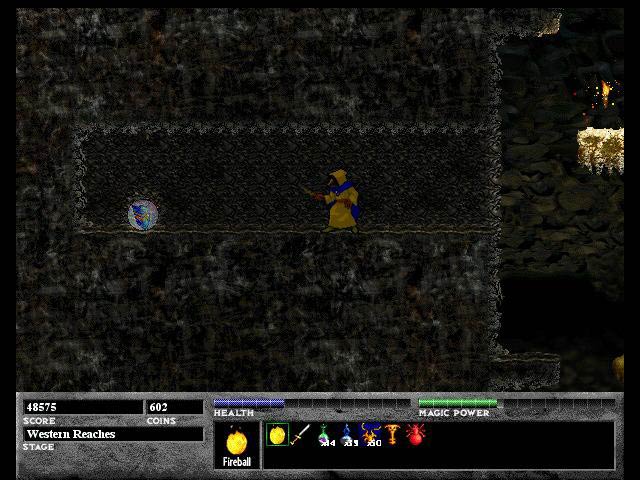
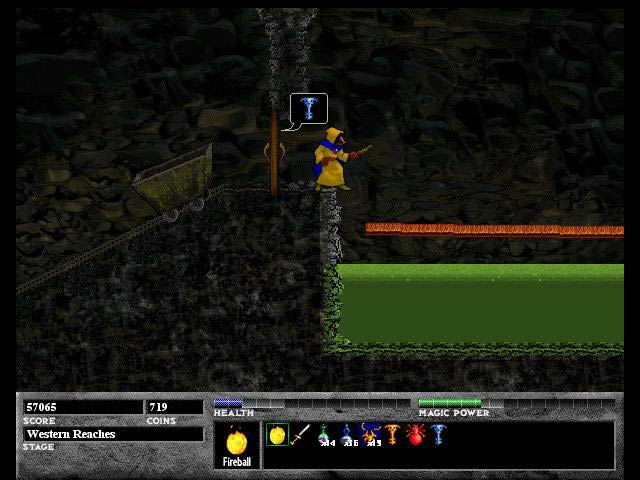
Head left from Picture 8, kill the knife throwing goblin there that is to the right of the spring in Picture 9. You use the spring by jumping on it and then pressing the jump button again when you land on the spring again. It takes a little practice but pretty soon you will be just as I am in Picture 10. Once you reach that rock platform, grab the magic potion. You probably have seen the teleporter that is in the north-western corner of Picture 10. You get to it by going left of the teleporter, running to the right and jumping to cling to the wall to the right of the teleporter. Jump on it and warp out of there.
![]()
 |
 |
| Picture 11 | Picture 12 |
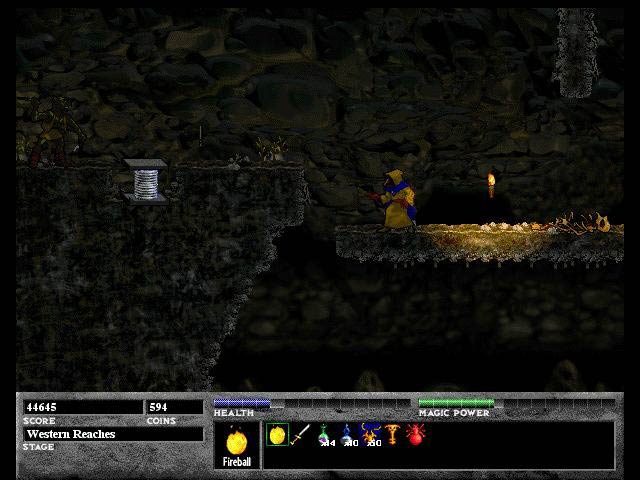
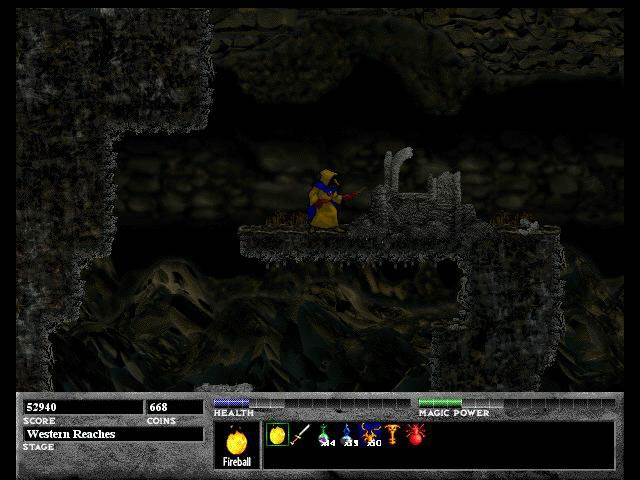
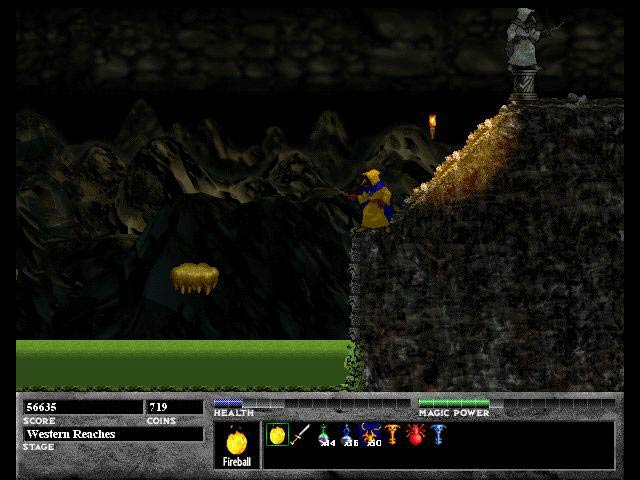
Jump off the teleporter and head right. In Picture 11, I'm on one of the ledges that you have to use to reach the wounded Habnabbit. He will tell you that he is hurt and wishes for a Health Potion. Give him one of your own and he will thank you by giving you a key that gives you access to a magic spell, the Statue Spell. Head back down and go to the right. What's this on the ground? Is it railroad tracks? No, they are mine cart tracks. Keep on going right and you will see two small acid pools and a knife throwing goblin. Show him the hot end of your fireball and break the wall behind him to reach the shield treasure that is shown in Picture 12. If you go to the right, you might find the terrain familiar. That's because you are back at the same spot where you took the teleporter in the first place. Did you need to use the teleporter? No, and keep in mind what you've learned from this. There are usually more than one way to get to a spot and the different areas of a level are more connected with each other than might first appear. Now that you're here, hop on the teleporter again. There is more to be found in the left side of this level.
![]()
 |
 |
| Picture 13 | Picture 14 |
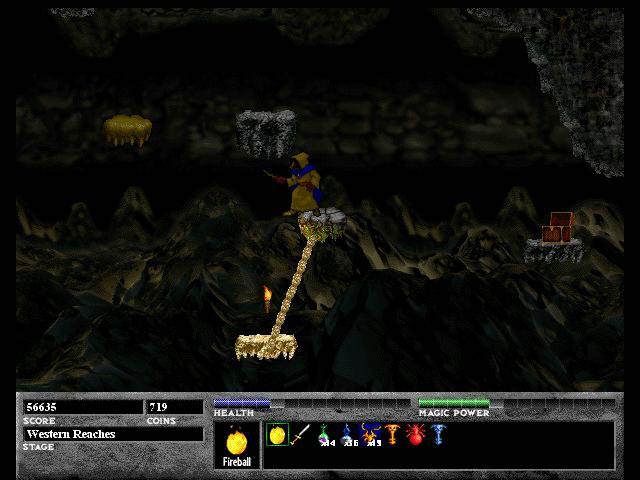
From the teleporter you will want to go to the right and up to get to Picture 13. From here you can hop on the first of many floating platforms with Gold Xichrons to reach the very top which has a chest with many coins. There is a sword carrying goblin on one of the larger platforms and be sure that you knock him off with your fireballs. Once you grab all of the goodies, just jump and head back left so that you're below the scene shown in Picture 11.
![]()
 |
 |
| Picture 15 | Picture 16 |
 |
|
| Picture 17 |
Meander left to see the acid pool in Picture 15. Use the moving platforms to get on the revolving platform as shown in Picture 16. Grab the chest in the picture and then use the platforms to make it to an outcrop that is shown in Picture 17. Break the wall to the left of where Ferazel is standing to reach the High Jump power up. When you have this you can jump extra high and glow orange as well. You don't really need this power up because there is nothing to get that you can't reach by using the available platforms and walls. Head back down to the left of the acid pool.
![]()
 |
 |
| Picture 18 | Picture 19 |
 |
|
| Picture 20 |
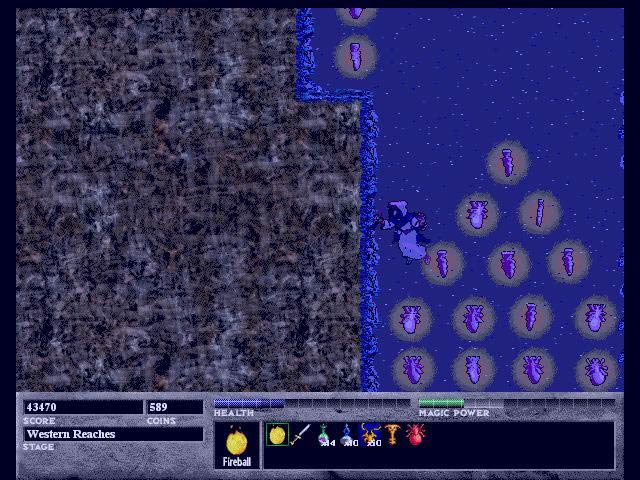
Picture 18 shows Gold Xichrons which are formed into an arrow left of the acid pool. Ferazel is orange because that's what happens when you use a High Jump power up. Grab the Xichrons, break the wall to find a giant lake of Ziridium Brine, torches, and a chain that you can use to safely cross the Ziridium Brine. That isn't necessary either because the Ziridium Brine is good for you. There isn't more to see here so go right past the acid pool and then head north. You will be south of where you got the blue key. Head left to the acid pool with the seesaw, hop over that to see the door in Picture 20. The door indicates that you need a blue key which the wounded Habnabbit gave to you earlier. Unlock the door and head into the last area of the Western Reaches.
![]()
 |
 |
| Picture 21 | Picture 22 |
 |
|
| Picture 23 |
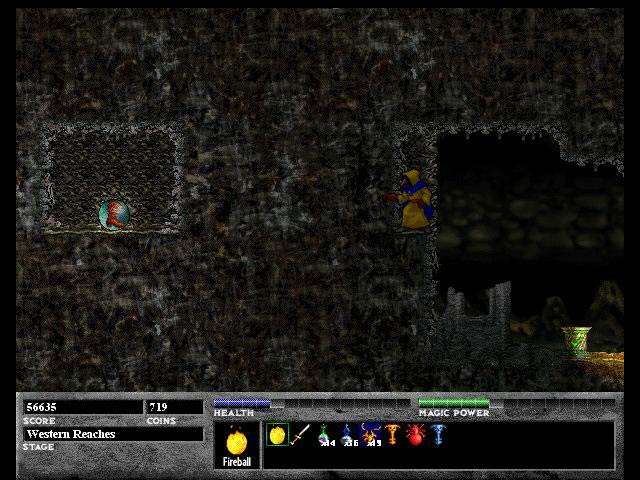
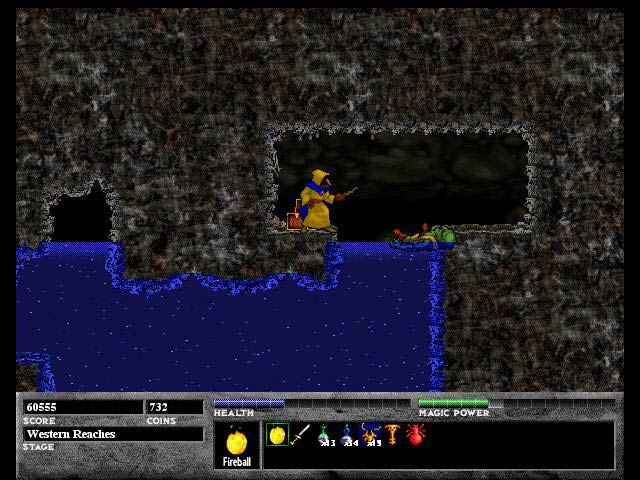
Take a ride on the cart which hops over a small acid pool. Kill the green slime and head left. There are a bunch of bats in this area so kill them all and keep going left to see a shallow pool of water. Walk to the right and swim down to get to Picture 21. Break the wall to Ferazel's right to get some Gold Xichrons. Go to the bottom of the lake and Spin Jump to get more Gold Xichrons as I'm doing in Picture 22. Head to the surface, walk left, and then up to see the prize of this entire level. In Picture 23 you see a scroll on top of a pedestal. This scroll teaches you the Statue Spell that freezes enemies in their tracks. Save if you want and then go up and left to find the exit.
Whew! The Western Reaches was a looping cave but you earned a lot of coins and points and became a better player of Ferazel's Wand. You also learned your second spell which will come in handy when you go further into the caverns to rescue your fellow Habnabbits. If you follow this guide, you will get 100% score just as I did. Next stop, Eastern Reaches.