Eastern Reaches
Finally making some headway towards the surface! The Eastern Reaches boasts a Heart Crystal which increases your health capacity by one notch, the return of the catapult, and more bodies of water than you can shake a stick at. Before I continue, I'd like to thank the nice people at the Ambrosia Web Board. I had a question about this level, asked the question, and received an answer within a few hours. If you have other Ambrosia products then I suggest you visit there if you ever have problems or want to help others just want to talk to nice people. If you have any comments or problems with this guide, you can email me. I welcome all criticisms, good and bad.
Before you can get to the Eastern Reaches, you have to go back to the Central Caverns and head to the rightmost section to use your Golden Key and exit. You will notice that you now get 100% of secrets as opposed to the 92% that you got when you went to the Western Reaches.
![]()
 |
 |
| Picture 1 | Picture 2 |
 |
|
| Picture 3 |
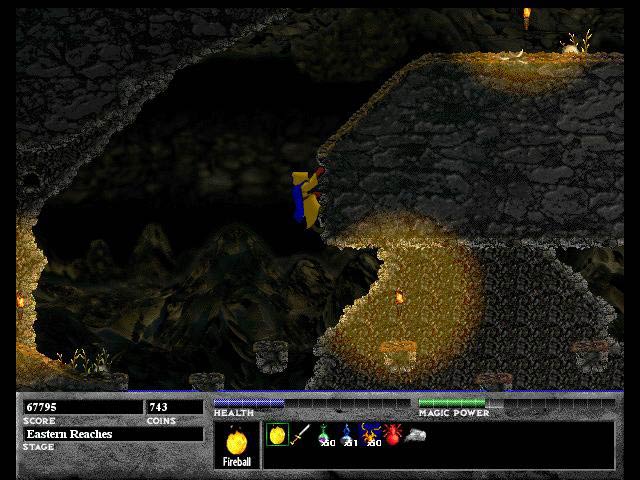
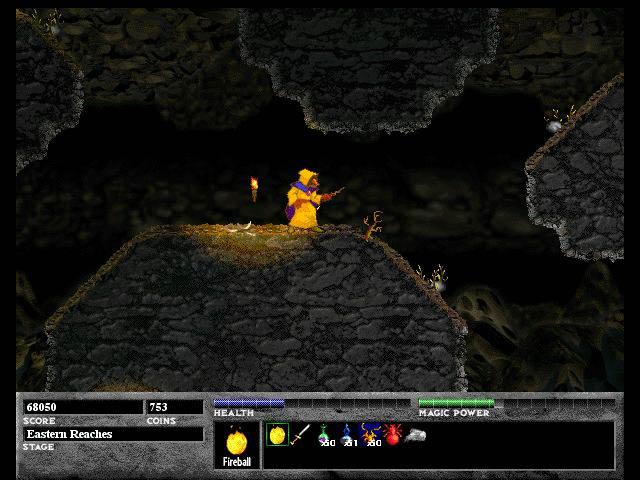
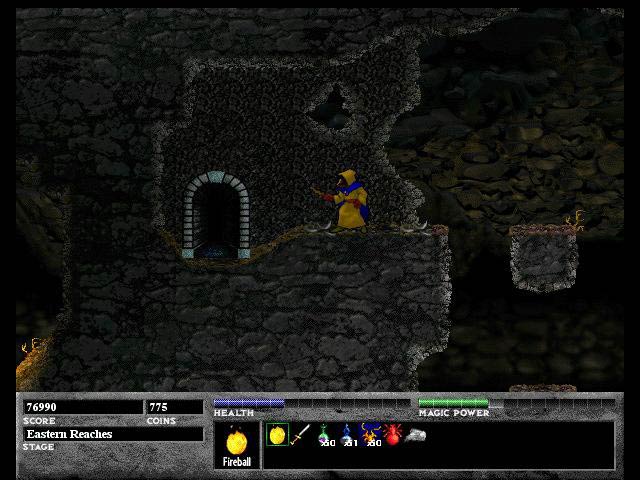
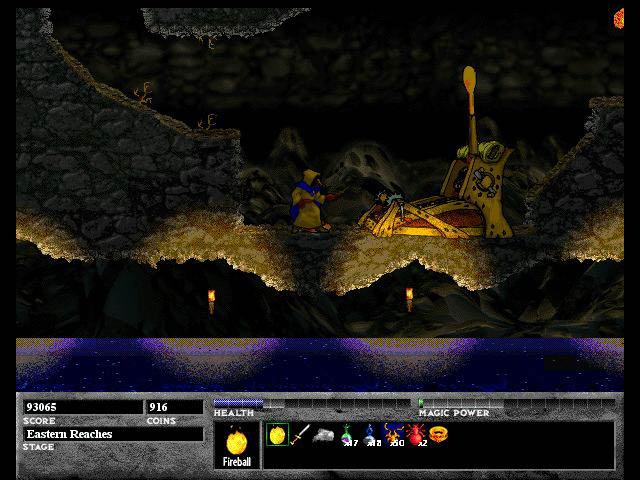
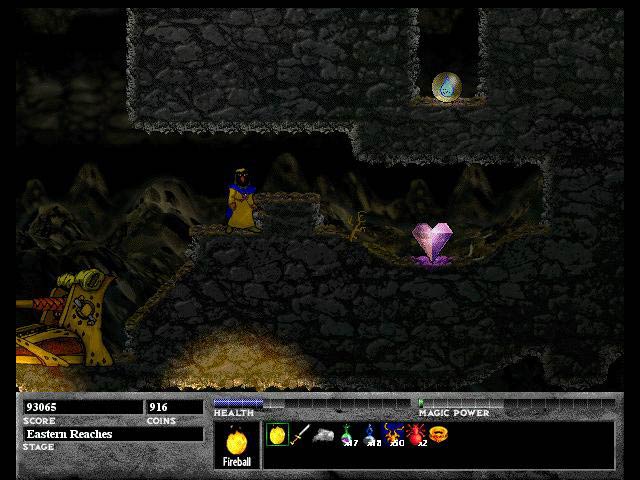
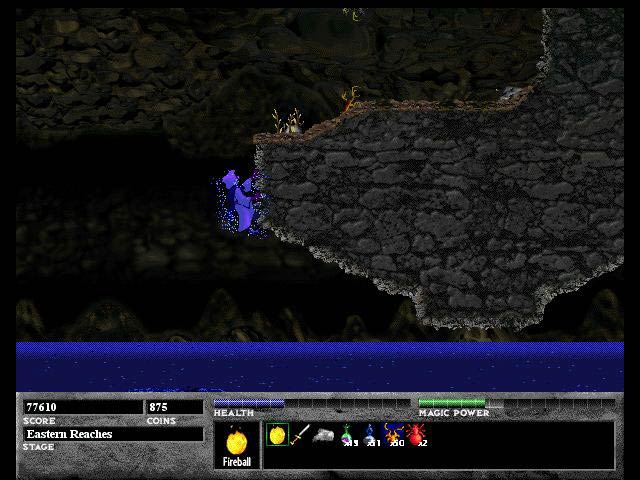
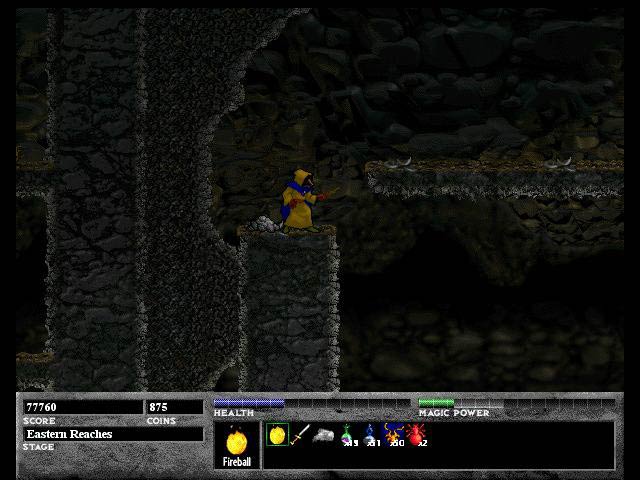
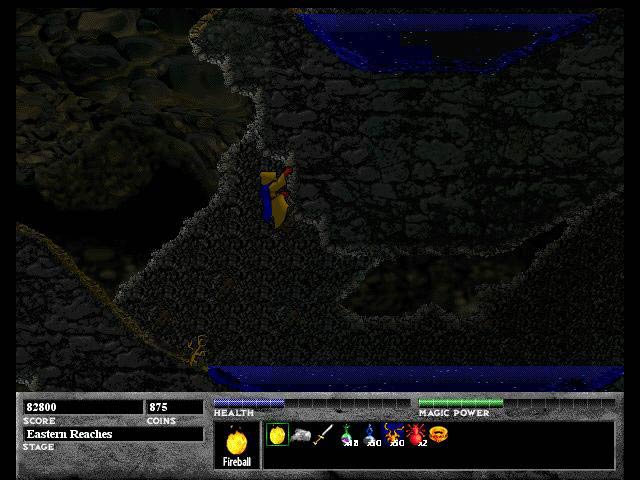
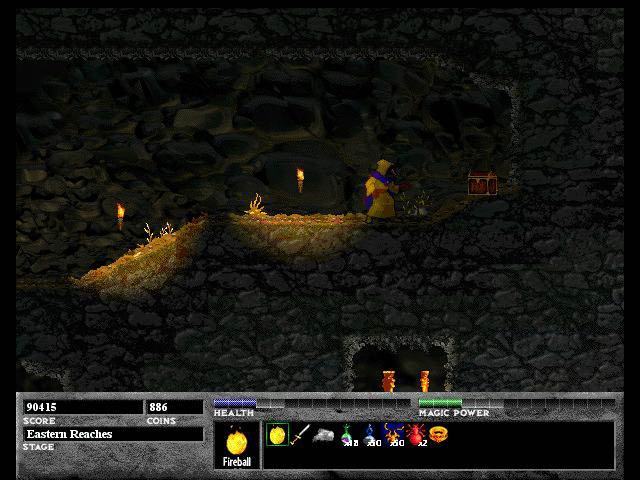
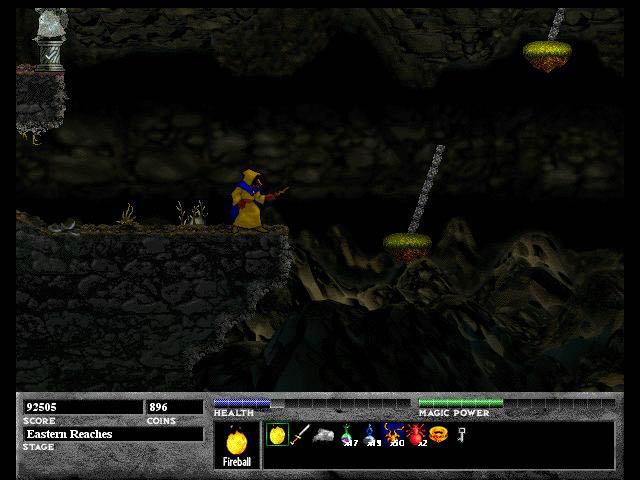
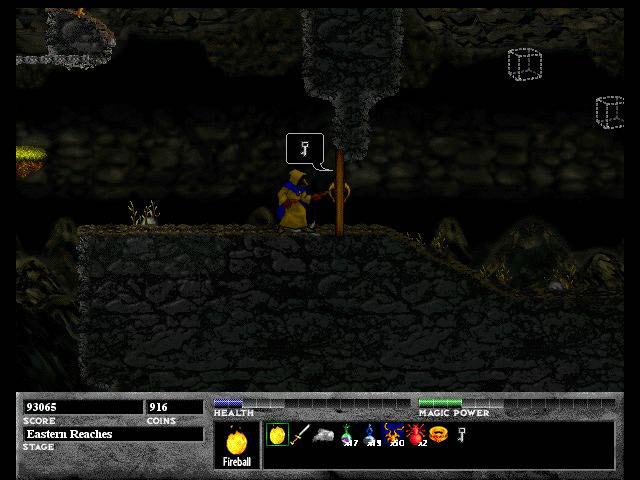
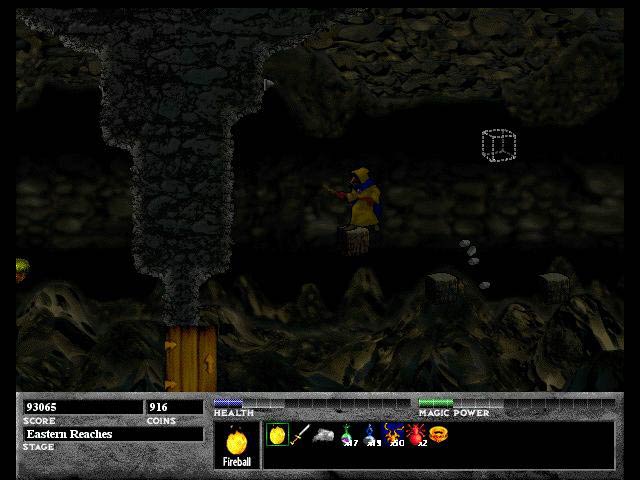
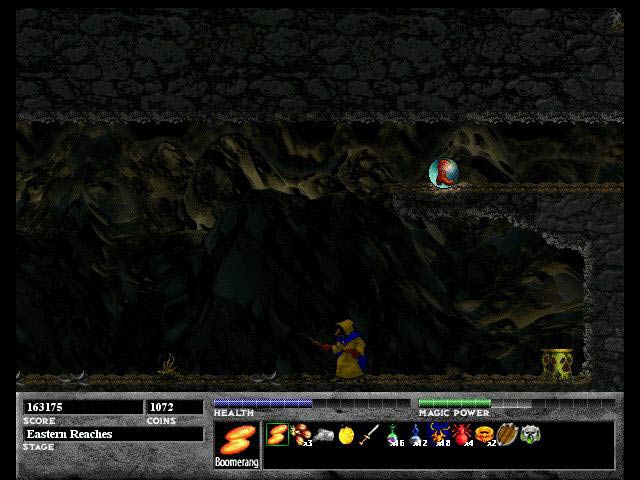
After you enter the Eastern Reaches, go right and jump on the large platform as I am doing in Picture 1, and then get on top of it as shown in Picture 2. There are two paths, one to the left and one to the right so take the left one. Follow the path until the dead-end and then head back to get on the platform that goes up and down. Go all of the way up to find Picture 3. Break the wall to the right of Ferazel with your fireball and get the rock mounds if you want to. Go back to the platform in Picture 2 and take the right path this time.
![]()
 |
 |
| Picture 4 | Picture 5 |
 |
|
| Picture 6 |
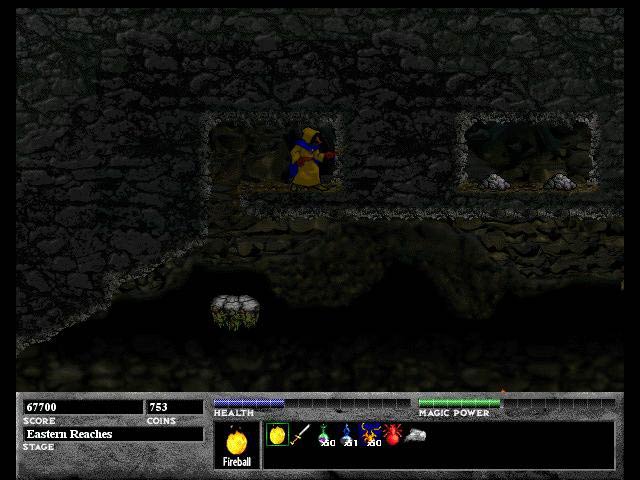
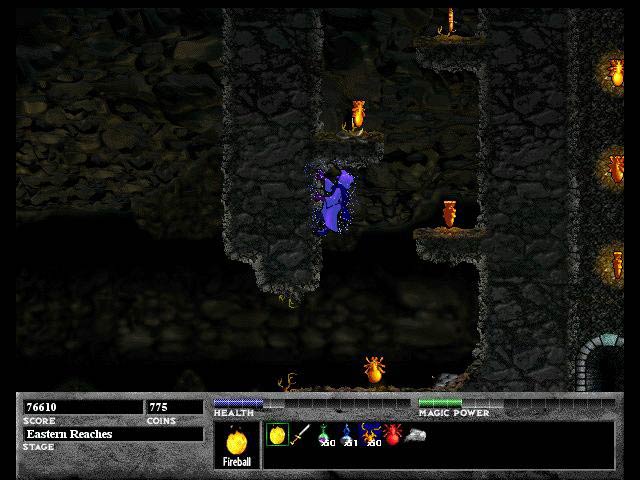
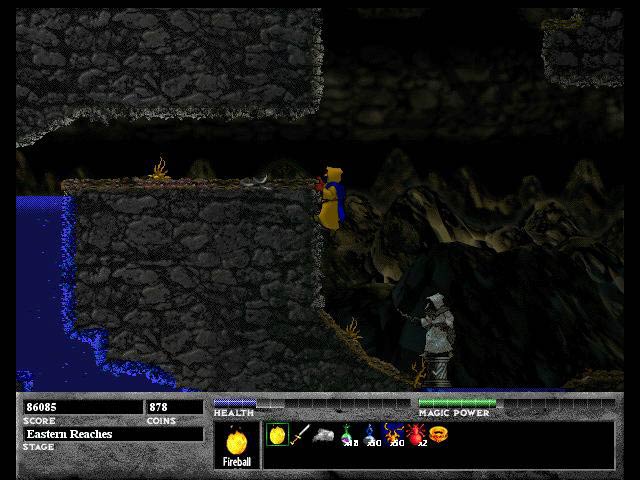
As you walk right you will see a ledge just like in Picture 4. Climb it and go left to break the wall in Picture 5 for a save point. Be sure to explore the rest of this section before heading back to the platform in Picture 1. Go right of the lake and climb up the wall in Picture 6. This area leads to a dead-end so kill all of the enemies before leaving and heading to the right of the lake.
![]()
 |
 |
| Picture 7 | Picture 8 |
 |
|
| Picture 9 |
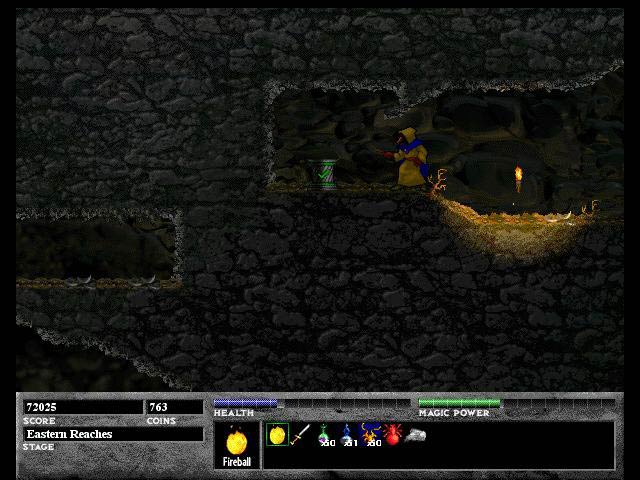
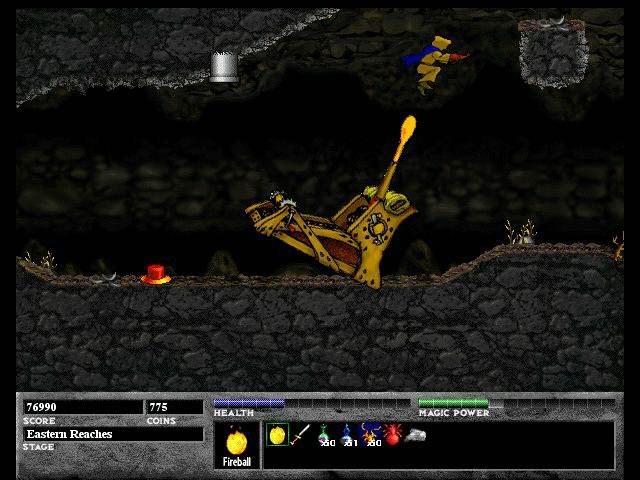
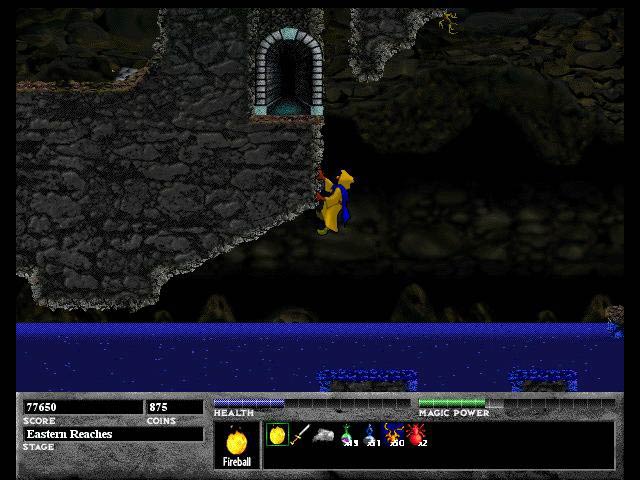
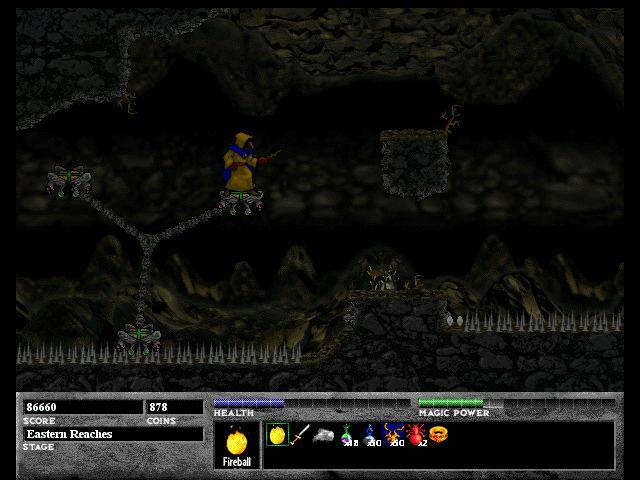
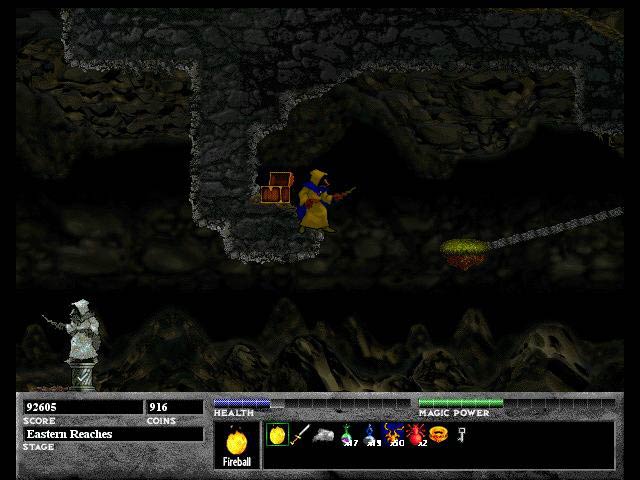
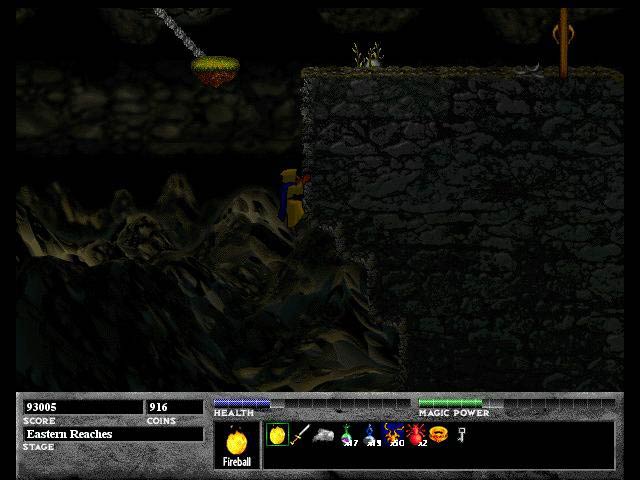
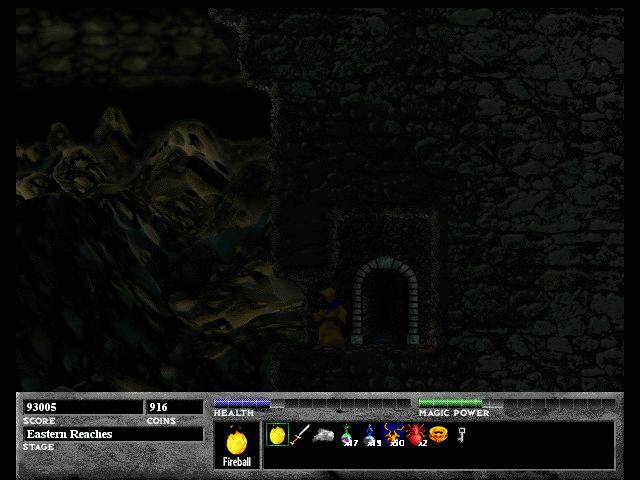
There is a tube before the save point that you can go down. It leads to a lake with some torches and a dead-end. It does give you the opportunity to see a big crystal just out of reach. Go back up and you will find a catapult. You might have discovered that you can break the ground beneath the catapult and you will need to do that to reach that big crystal you saw. However, you also need it to reach another area that is difficult if not impossible to get to without the catapult's help. So get on the catapult and have yourself flung to the right as I am in Picture 7. Just be sure to press the right button to cling to the floating ledge. Go to the top to find a door that is shown in Picture 8. Go in to find a large room with lots of Gold Xichrons. Be sure to Spin Jump above the middle bunch of Xichrons and break the walls to get to the other Xichrons. Also Spin Jump above the Gold Xichrons that are to the far right and left of the room to get to them. Don't forget about the chest with the gold coins. Leave the room and go back to the catapult.
![]()
 |
 |
| Picture 10 | Picture 11 |
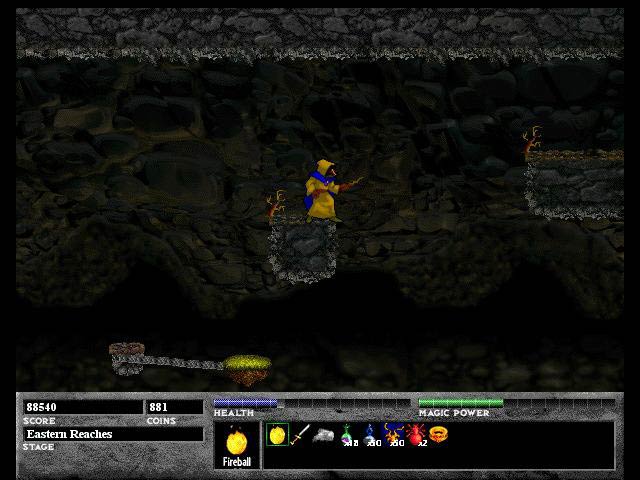
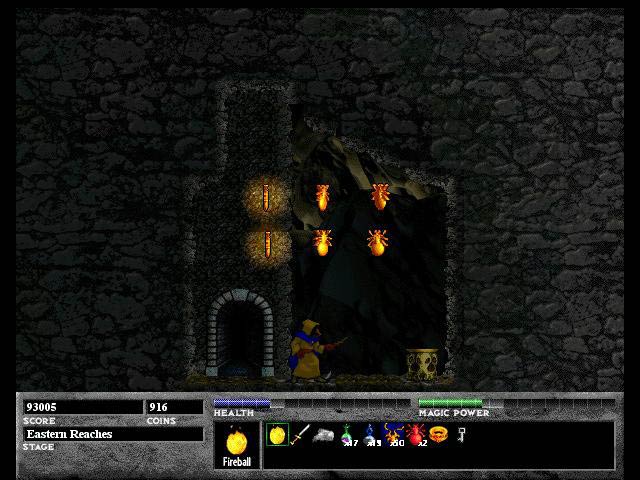
Now you can break the rock beneath the catapult by either Spin Jumping or using your fireball. You want the catapult to go as far down as possible so that it's at the same spot as Picture 10. Walk on the red button so that a rock gets released, falls in the catapult and gets launched to the right. After about three to four rocks, the wall to the left of the crystal is removed and you can grab it. This is a Heart Crystal and increases your total health capacity by one notch.
![]()
 |
 |
| Picture 12 | Picture 13 |
 |
 |
| Picture 14 | Picture 15 |
Head back and Spin Jump above the Walk-On Water power up as in Picture 12. You might see the teleporter as in Picture 13, but don't take it because that will lead you to an underwater dead-end. Get the Walk-On Water power up to walk on the lake and jump to the left side of the floating platform in Picture 14. Climb up and grab all of the Gold Xichrons that you can see as in Picture 15. At the top is a save point. Now head back down to the lake.
![]()
 |
 |
| Picture 16 | Picture 17 |
 |
|
| Picture 18 |
Go to the bottom of the lake as in Picture 16 and Spin Jump. There is nothing here but a teleporter and a dead-end. The teleporter takes you to Picture 13 so coming down here is just to find one of the secrets. Head back to the top of the lake and head right. You need to go to the right bank of the lake, run left and jump to cling to the wall in Picture 17. Go in the door to find a small cave with Gold Xichrons. Grab them all and exit and climb up making sure you get all of the Gold Xicrons. You will find yourself in Picture 18. The bridge to the right crumbles as soon as you jump on it so be sure to run all of the way to the right.
![]()
 |
 |
| Picture 19 | Picture 20 |
There are two levels as shown in Picture 19, so go on both of them and kill all of the frogs and get the Gold Xichrons. Then go left of Picture 19 to Picture 20. Go in the tunnel where Ferazel is to grab more Gold Xichrons.
![]()
 |
 |
| Picture 21 | Picture 22 |
 |
 |
| Picture 23 | Picture 24 |
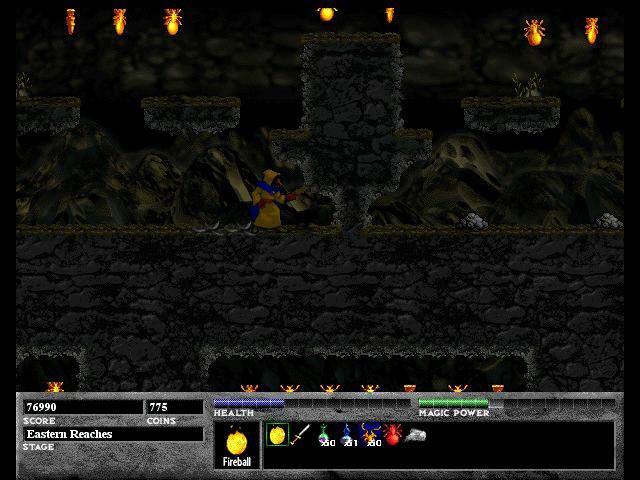
Go right of Picture 20 to the rotating platforms (Picture 21), past the spikes and to the swinging platforms in Picture 22. You want to get on the same platform that Ferazel is and head right. This area has knife-throwing goblins as Picture 23 demonstrates. Kill them and head right until you reach Picture 24. The chest contains a vital silver that you need to open the door that leads to the end of this level. Also Spin Jump above the Golden Xichrons to get them. Go left and then drop down for another level. There isn't anything here except bats and torches so clear it out and go back to the two swinging platforms.
![]()
 |
 |
| Picture 25 | Picture 26 |
Go right for more swing platforms except these aren't attached to anything. There is a save point and I recommend that you save here because the next part is tricky and you will most likely die a few times until you make it through. The pit to your right is bottomless and if you fall in you will die. Not even a Rez Necklace will bring you back so you have to be careful. Jump on the platforms and go up and left to Picture 26 to get the chest with silver coins.
![]()
 |
 |
| Picture 27 | Picture 28 |
Go to the left of the pit and walk right so that you fall down while holding left. You will land on the platform in Picture 27. Go in the door and you will find Gold Xichrons and a teleporter. Use the teleporter and you will find yourself back in Picture 13 on the teleporter. Head back to the swinging platforms.
![]()
 |
 |
| Picture 29 | Picture 30 |
 |
|
| Picture 31 |
This part is even trickier. Get to the lower right swinging platform and jump to the right wall as I did in Picture 29. Climb down until you drop and hold right so that you will land in Picture 30 or at least cling to the wall so you can get there. Go in the door to find yourself in a room with Gold Xichrons and a teleporter. After getting the Xichrons, jump on the teleporter to go back to Picture 13. Once again travel back to the swinging platforms.
![]()
 |
 |
| Picture 32 | Picture 33 |
 |
|
| Picture 34 |
Go to the right of the pit to see a door that needs a silver key to get in as Picture 32 demonstrates. Go in to see white dashes that form the outlines of boxes and a red switch that you can't reach. Just as in the Western Reaches, fire a fireball to depress it. The white dashes turn into solid cubes that you can land on and also, unfortunately, the tubes start firing. Get to where I am in Picture 33 and then jump left (after the button is depressed, of course) and hop left to Picture 34. There is a little button on the wall that you can depress using your fireball which makes the top level turn into cubes. The tubes also start firing so you have to time your jumps between firings. Hop to the right and then move on to the exit.
![]()
 |
 |
| Picture 35 | Picture 36 |
 |
|
| Picture 37 |
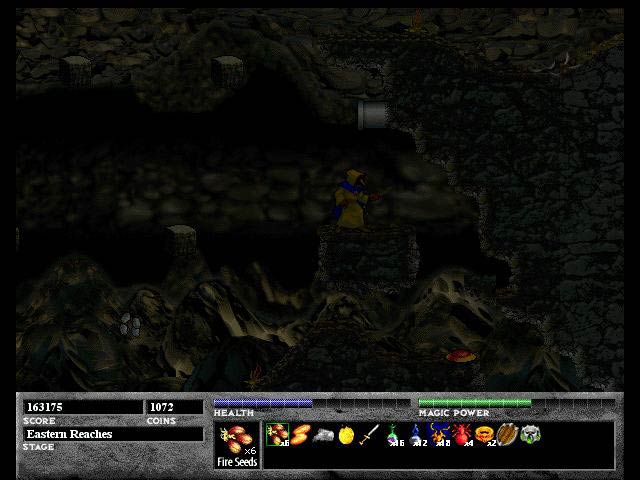
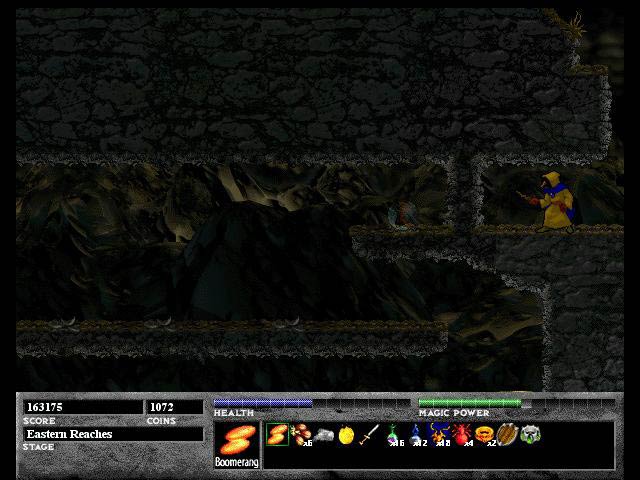
You will note that you only found 94% of the total number of secrets even though you killed 100% of the enemies and 100% of the Gold Xichrons. That is because there is an area that you can't reach until you have a certain item that you can't get until later. This is the part where the people at the Ambrosia Web Board helped me out. What you need to do is come back when you have Fire Seeds that are first found in Storm Valley Then you go to Picture 33 and toss them at the wall to the right of Ferazel. You need to toss two Fire Seeds to have Picture 35. Go all the way to the right and spin jump down and fire your Boomerang spell to the left to get to Picture 36. You will then have to use another Fire Seed on the wall to break it and make your way into a secret room. Unfortunately aside from a High Jump power up and a crumbling ledge there is nothing of interest. No Magic Potion, Health Potion, Mind Crystal, or Heart Crystal. The only thing you will find is a teleporter that leads to the teleporter near the beginning of the level. So head to the left and exit to find yourself with 100% of the secrets.
However, I strongly recommend that you don't even bother getting 100% of the secrets. Fire Seeds are going to be in short supply for a while and they are better used in other levels. If there was something worthwhile such as Magic or Health Potions then I would say that using the Fire Seeds would be a good idea. As it is, just skip it entirely and accept 94% of the secrets as good enough.