Obfuscation & Edification
Obfuscation & Edification is an enjoyable level where you find not only a Mind Crystal but a Heart Crystal as well. There is also a Red Xichron and a ton of Gold Xichrons that will be helpful to you down the road. I found out recently that every 100 Gold Xichrons collected turn into one Red Xichron and that you will need a certain number of these to gain entrance into one of the levels. So getting as many Xichrons as you can now will prevent you from having to go back to the levels at a later date to find them. Of course, seeing the 100% score at the end of the level is a good ego boost as well. :-) If you have any comments or problems with this guide, you can email me. I welcome all criticisms, good and bad.
![]()
 |
 |
| Picture 1 | Picture 2 |
 |
 |
| Picture 3 | Picture 4 |
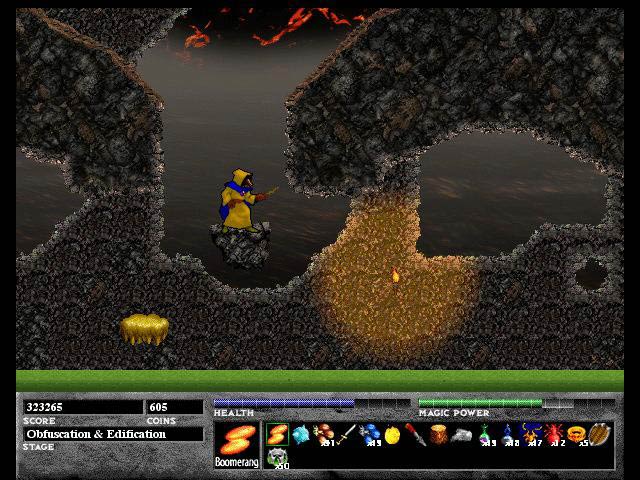
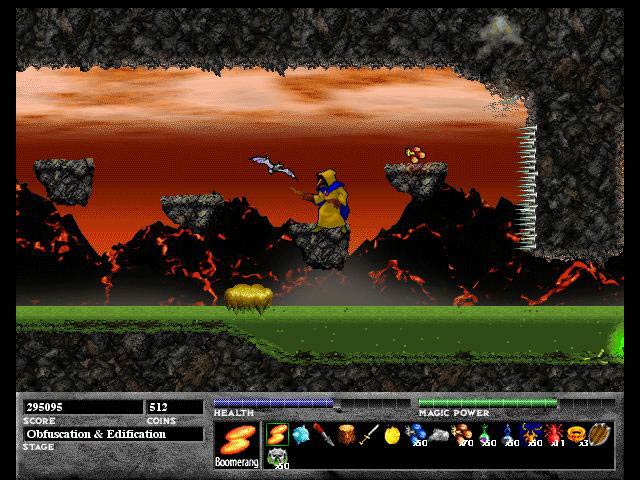
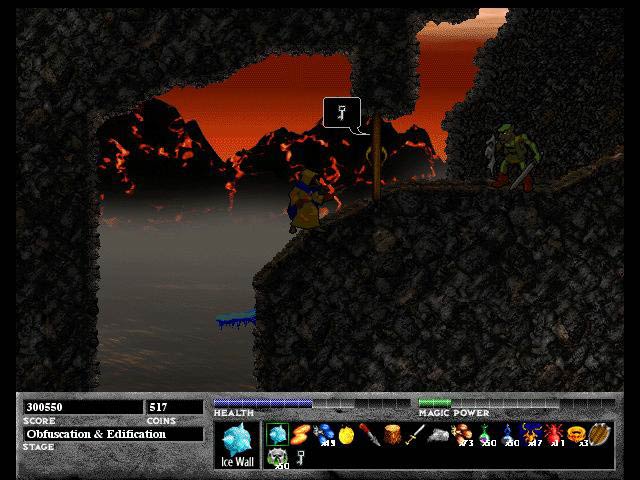
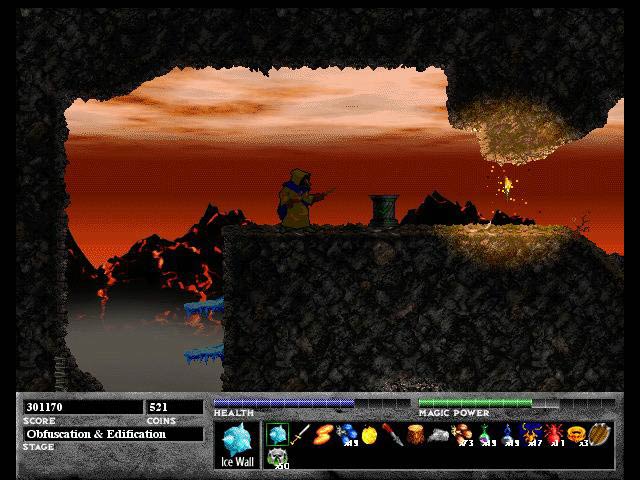
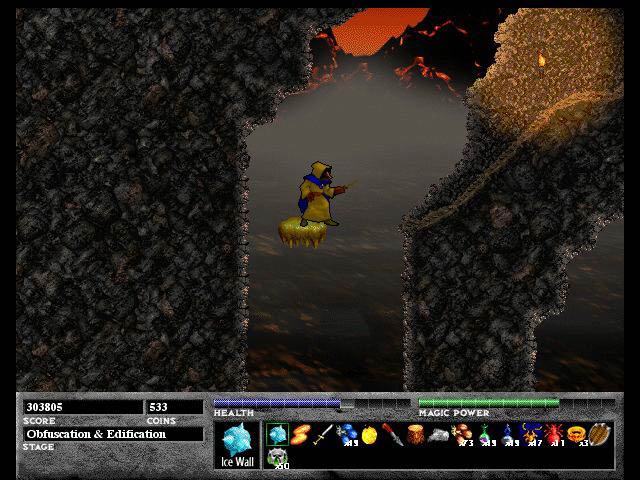
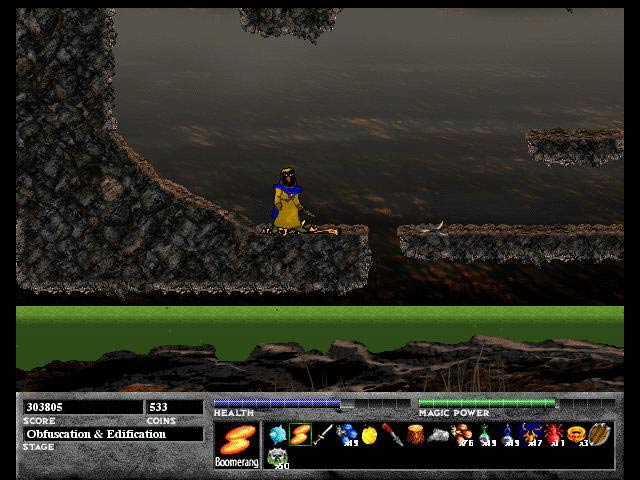
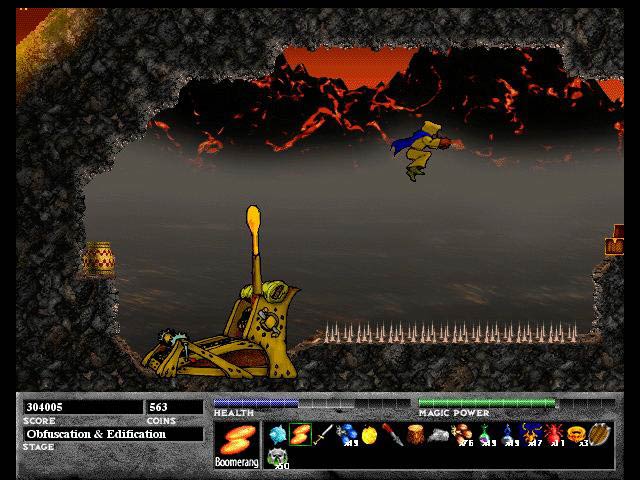
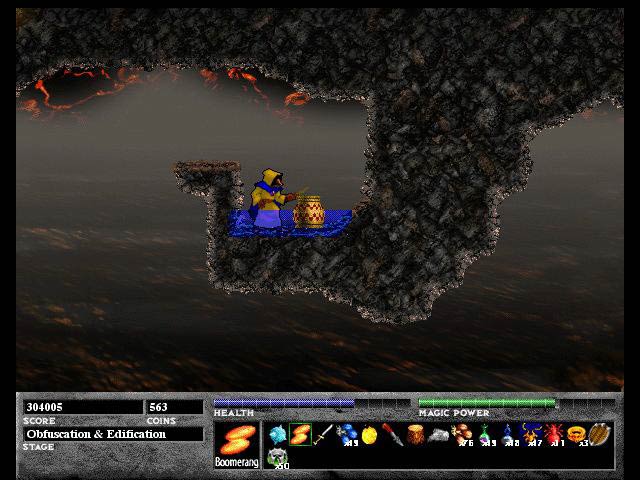
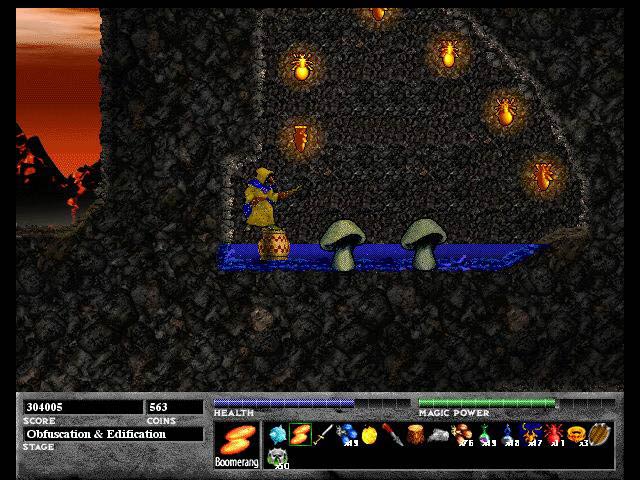
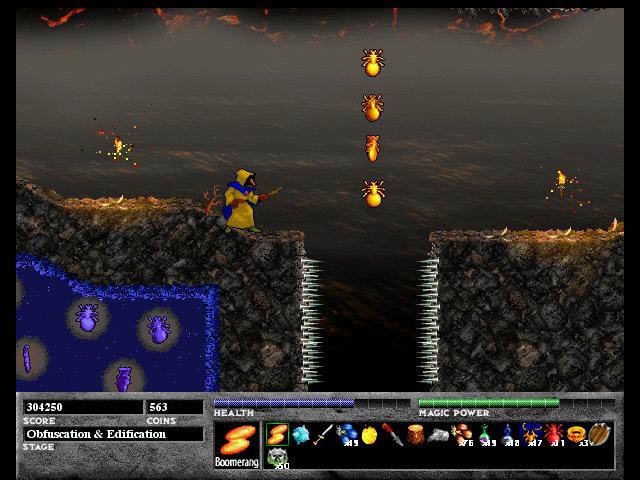
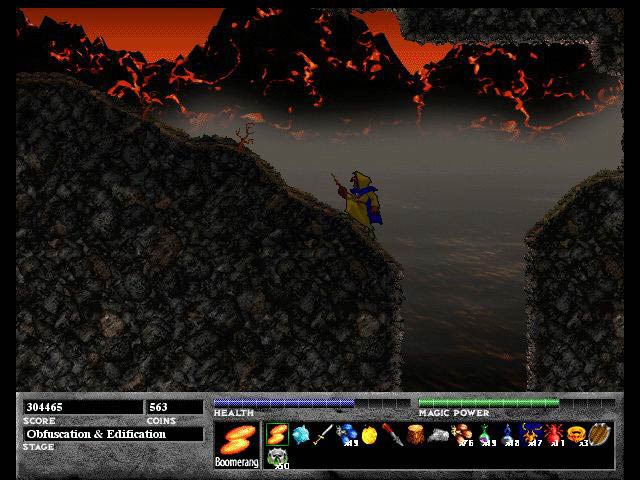
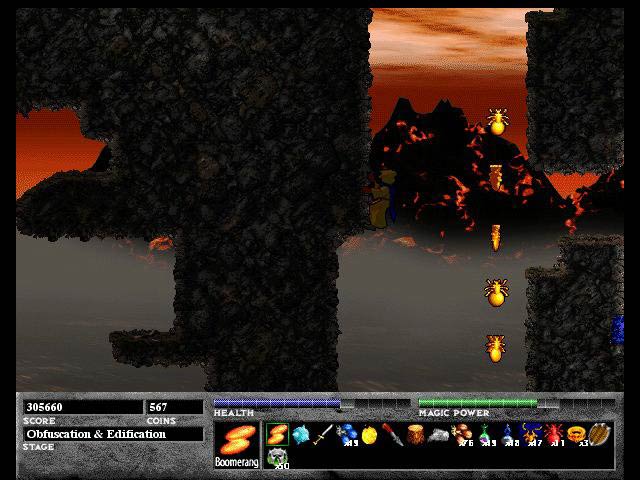
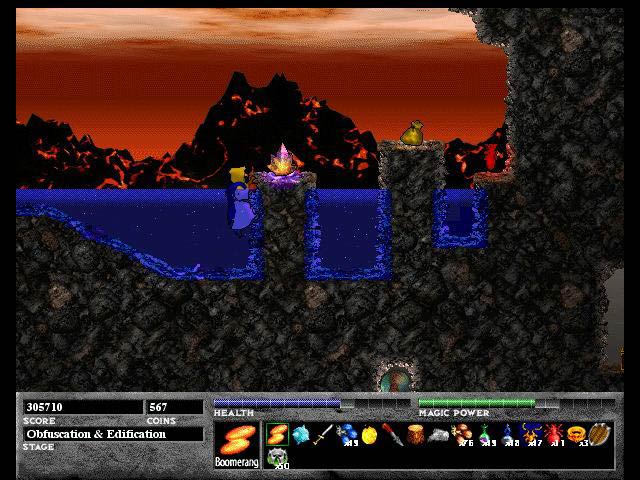
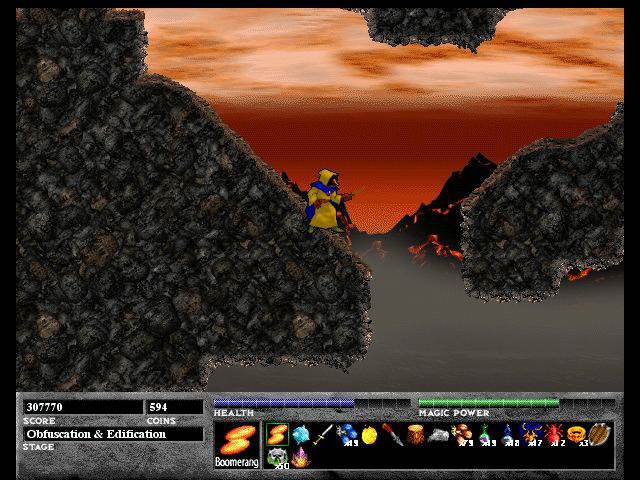
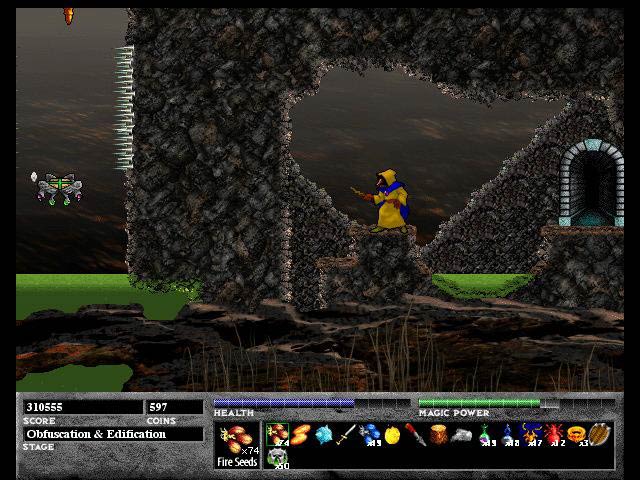
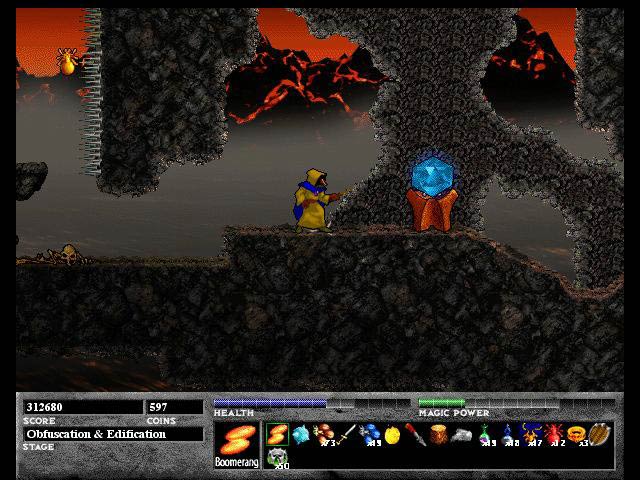
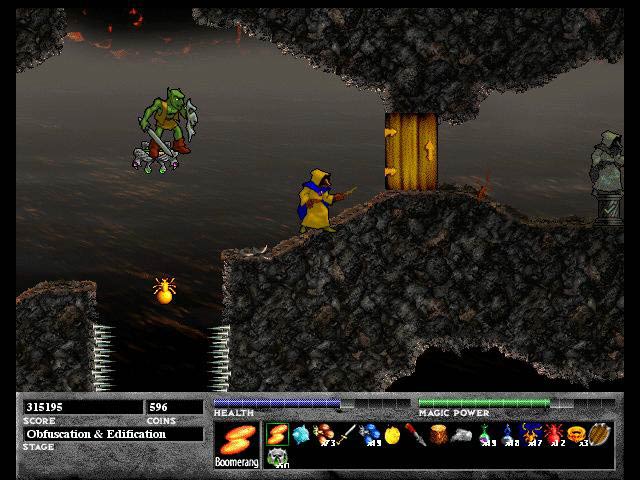
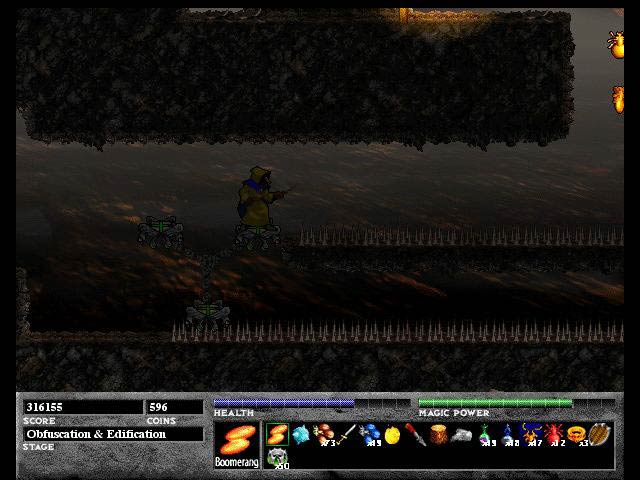
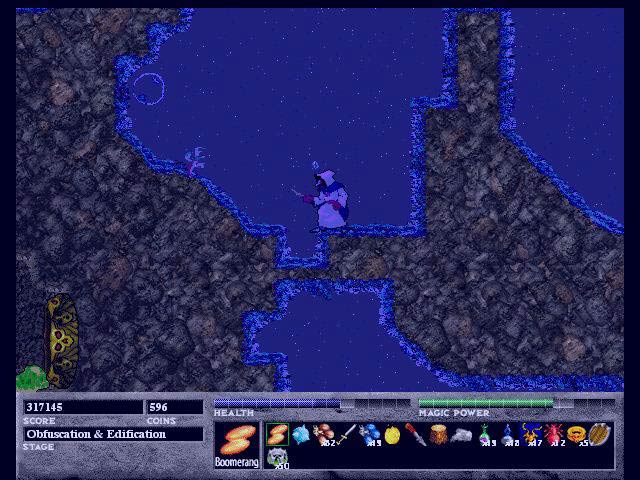
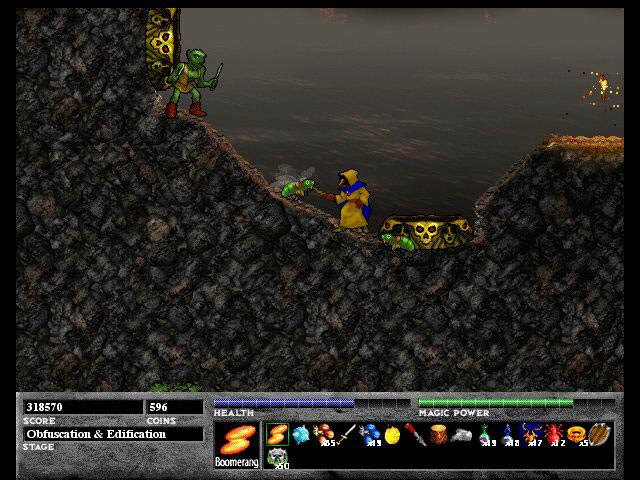
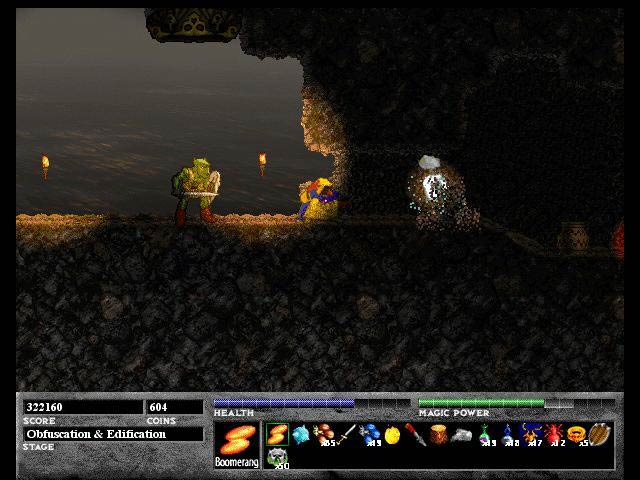
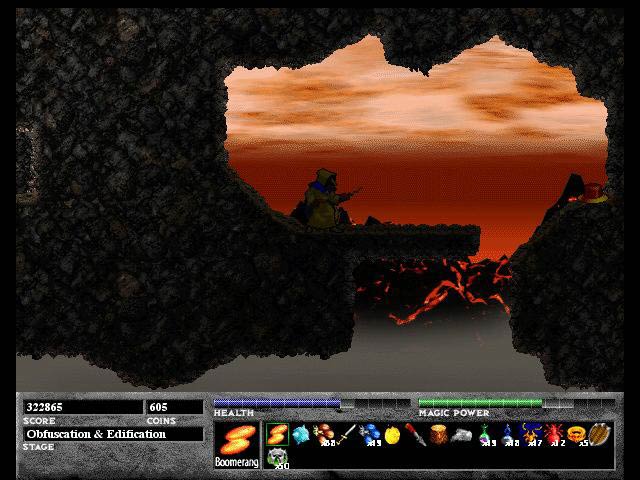
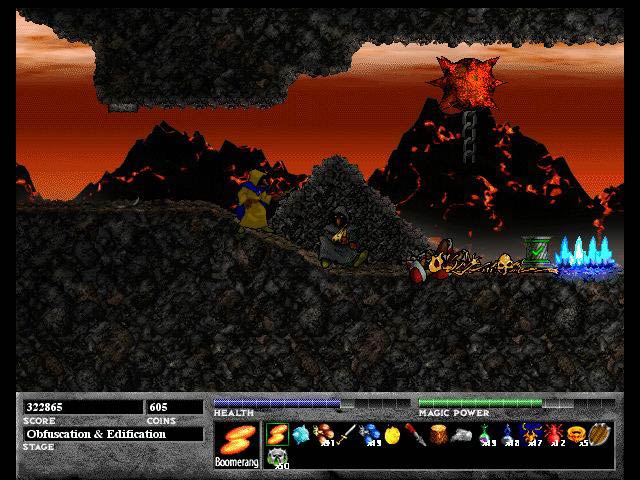
You start out the level to the left of a large pool of acid and a platform to your right past a save point. Hop on the platform and it automatically moves to the right. In a few moments you will find yourself in Picture 1 where you get off the platform and jump on the floating rock. Go to the right to get to Picture 2. Kill the bat and go down to Picture 3. You'll soon find out that no matter how many of these slimes you kill, another one comes out of that strange device. I call this a Monster Generator and it ensures that there is always one of a particular type of monster there. Now destroy the wall as I am to get access to the Ziridium Brine. Go left past the Monster Generator and down to Picture 4 to get an Invincibility power up. Now go back to Picture 1.
![]()
 |
 |
| Picture 5 | Picture 6 |
 |
 |
| Picture 7 | Picture 8 |
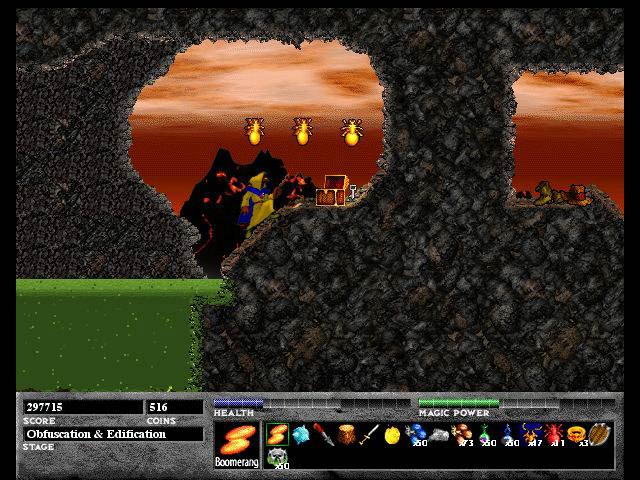
Now you climb up on the rock face that is above Ferazel's head in Picture 1 to kill the bat that's there. Then go left until you come across a teleporter that looks like a basket or vase. Hop on it and you will find yourself in Picture 5. Go right until you find another teleporter. Jump on that and you will find yourself before another acid lake and a platform in Picture 6. Get on the platform and you will go to the right. Be sure to jump off to destroy the bats in the room. You will also come across a Gold Bat which is tougher than the ordinary bat and has a fire ball that it uses to attack you. Go all of the way to the right to find a chest in Picture 7. The chest contains a Silver key that opens up a door later in the level. Now break the wall to the right of the chest to open up a secret room that contains a Heart Crystal. You can see it in Picture 8. Now go back to Picture 1.
![]()
 |
 |
| Picture 9 | Picture 10 |
 |
 |
| Picture 11 | Picture 12 |
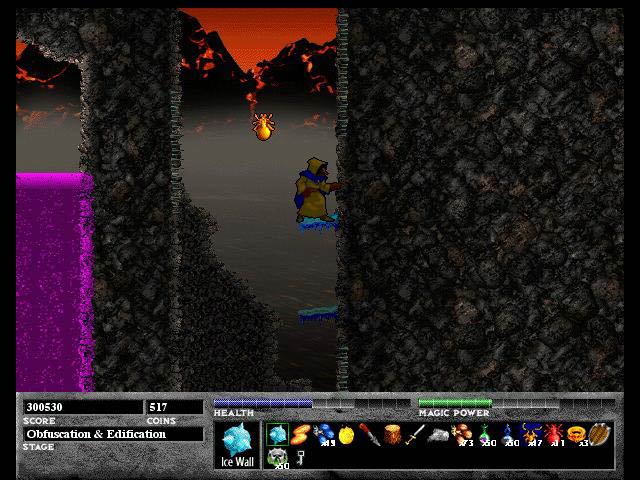
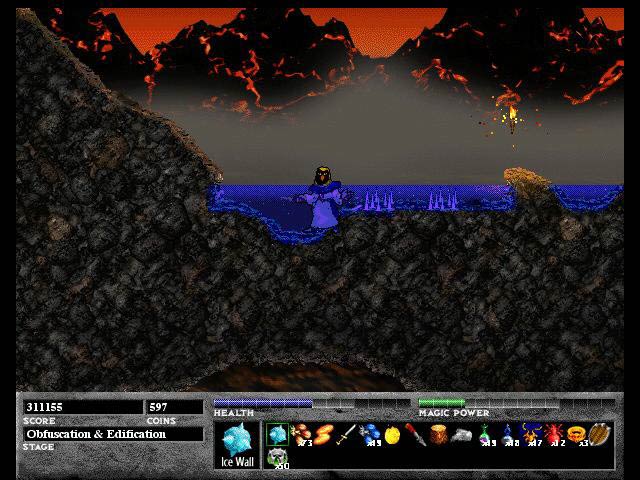
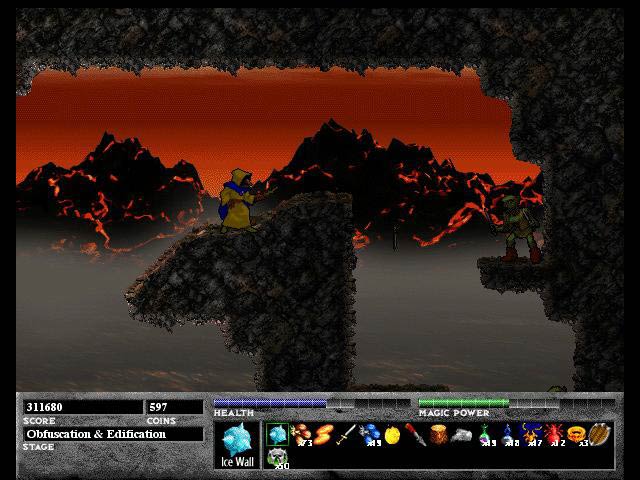
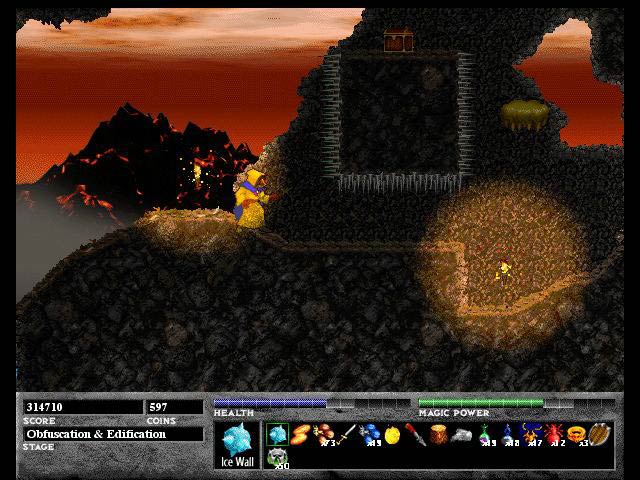
Now ride the platform all of the way to the right and get back on dry ground again. Go to the right and there are two walls with spikes that extend and then retract. You could make your way up by timing when the spikes will be retracted or you could just pull out your Ice Wall and get up the easy way just as I am in Picture 9. At the very top there is a locked door in Picture 10 that conveniently needs the Silver key that you picked up earlier. Use the Ice Wall spell for the next set of wall spikes to get to Picture 11. Go right and kill the Rock-Throwing Goblins and follow the path until you get to Picture 12.
![]()
 |
 |
| Picture 13 | Picture 14 |
 |
 |
| Picture 15 | Picture 16 |
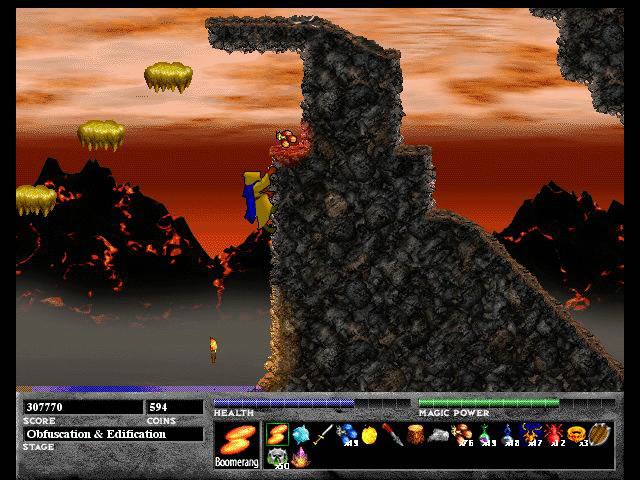
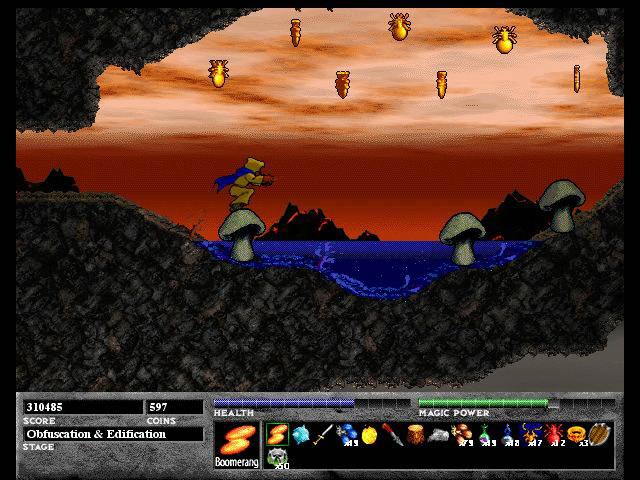
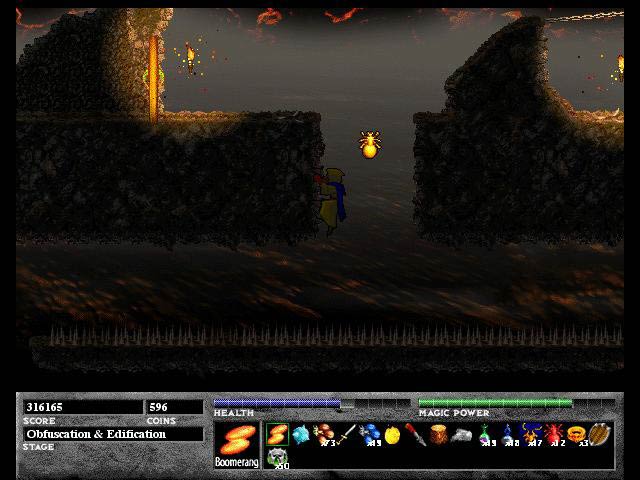
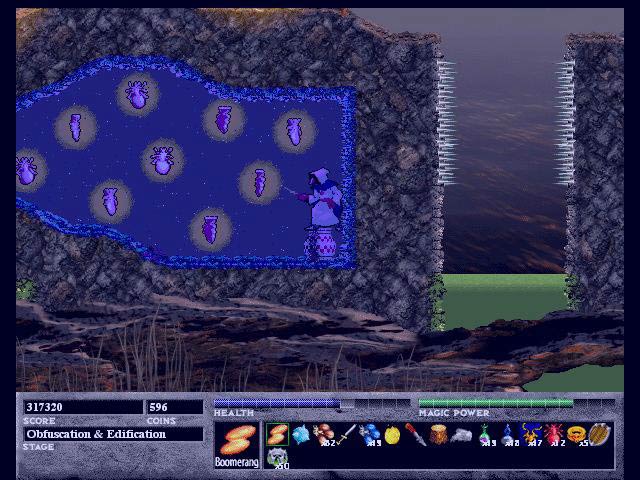
As the platform goes down you will see Fire Seeds to the right that you should grab and then go right until Picture 13. What you have to do now is get in the acid and swim left under the ledge and you will come across another teleporter. You will appear in Picture 14. Get on the catapult and you will be launched in the path of the Gold Xichrons and on to the chest that has a bunch of silver coins. Now head back to Picture 13. All of the platforms in this next area crumble so you have to move very quickly. Your goal is to make it as high as possible without going very far to the right so you end up in Picture 15. You will teleport to Picture 16 where you can bounce on mushrooms and grab Gold Xichrons. Now go back out and go over the acid lake to the right bank.
![]()
 |
 |
| Picture 17 | Picture 18 |
 |
 |
| Picture 19 | Picture 20 |
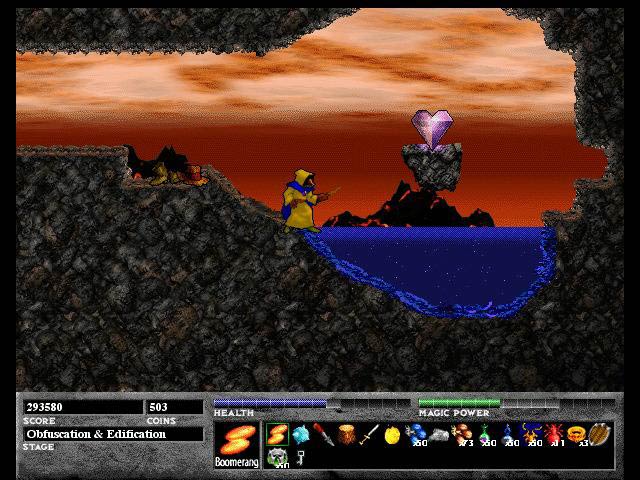
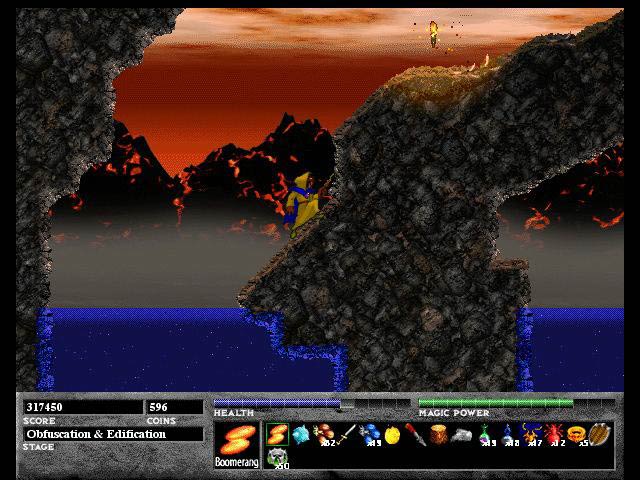
You'll be in Picture 17 next to a seemingly bottomless pit with spikes on either side. What you need to do is jump into this pit making sure that you're in the middle. You will land on a hidden platform and be taken up to Picture 18. Walk up left, climb on the wall to where I am in Picture 19, and fire to the right to break open part of the wall. Go through it and you'll be in Picture 20 to find a Multicrystal, a bag of coins, and a Red Xichron. If you can jump over the Multicrystal to leave it for a better time, I recommend it. Get the stuff and then exit.
![]()
 |
 |
| Picture 21 | Picture 22 |
 |
 |
| Picture 23 | Picture 24 |
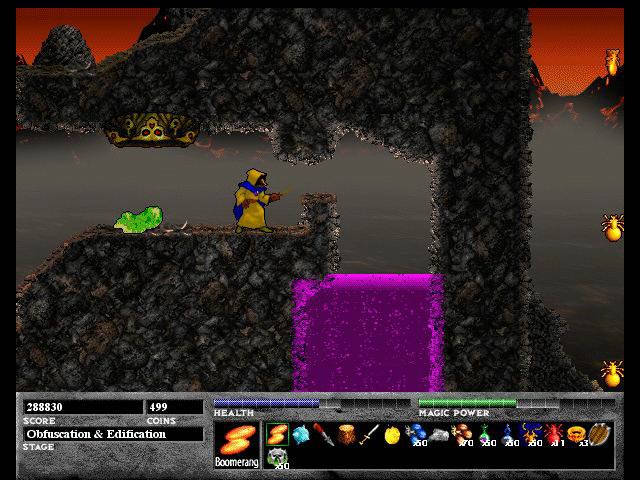
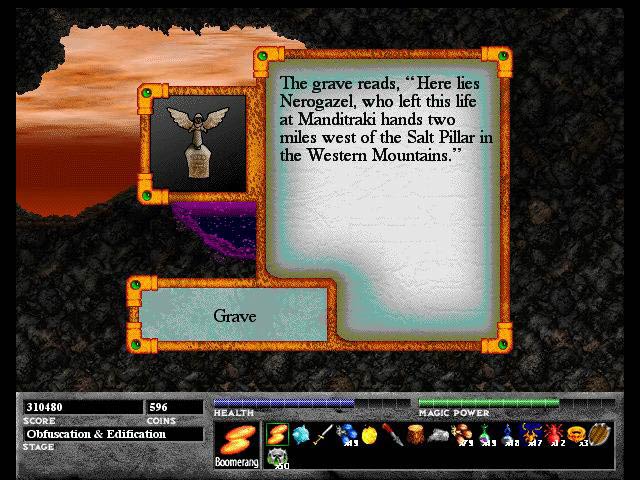
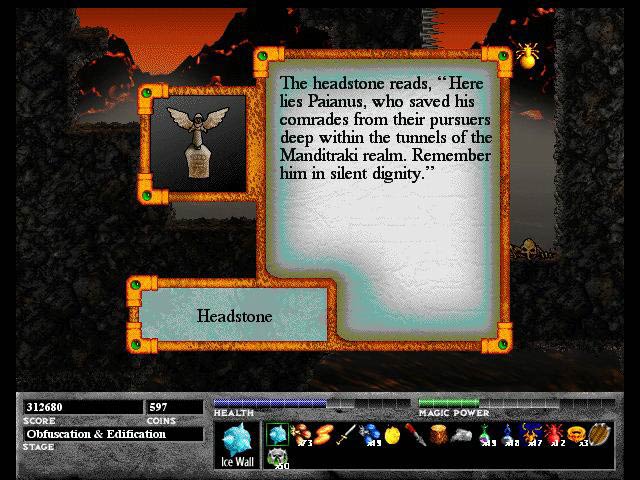
Climb out and to the right to get to a small water pool. Go to the right in Picture 21 and get some Fire Seeds. Now jump on the platforms to get to the ledge. Unfortunately, the platforms disappear soon after you land on them so you will have to move quickly. Go to the right and you'll be in Picture 22 and hop on the right ledge and walk to the right. Keep on going right until you see another Ziridium Brine pool and a headstone in Picture 23. Break open the wall to the right and you'll find yourself in Picture 24 with some Gold Xichrons. Get all of them but don't leave this room yet. There's another secret to find.
![]()
 |
 |
| Picture 25 | Picture 26 |
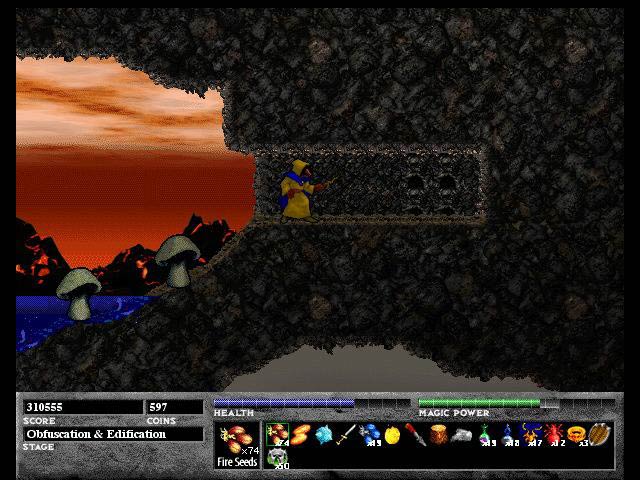
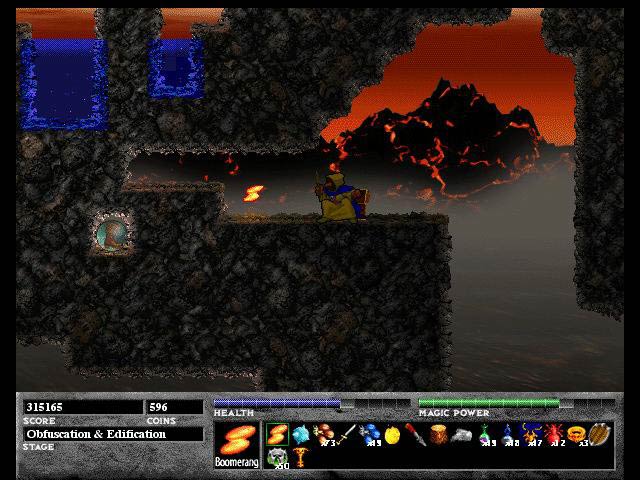
Now you will use some of the Fire Seeds that you've grabbed in this level. To the right of this room there will be an indent in the right wall. Use a Fire Seed on it to blow part of the wall, then use another Fire Seed to reveal some holes as in Picture 25. Use it like a door by walking in front of it and pressing up to get to Picture 26. This is the secret entrance to the Purple Haze level and now you have to make a decision. You can go down the hole and get to Purple Haze but you'll also have to come back to the beginning of Obfuscation & Edification. If you decide not to go to Purple Haze now, you can always elect to come back later. No matter what you decide, go back to Picture 22 and go down this time.
![]()
 |
 |
| Picture 27 | Picture 28 |
 |
 |
| Picture 29 | Picture 30 |
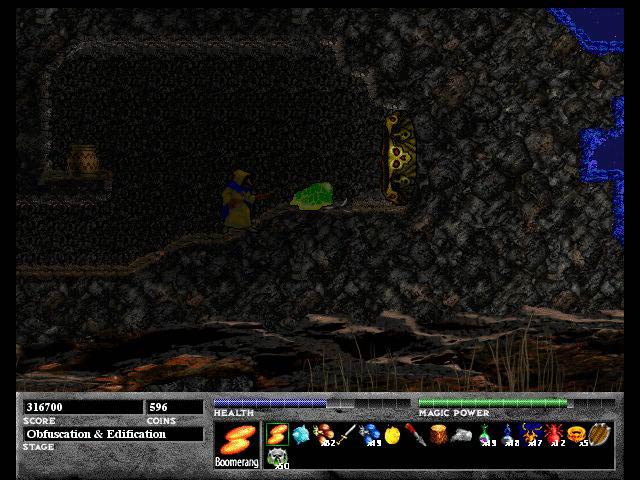
You will find yourself in Picture 27. There are disappearing platforms again so quickly jump on them and you will make it to Picture 28. Kill all of the Knife-throwing goblins while going downward. At the bottom you'll find another headstone in Picture 29. Then break the wall as I did in Picture 30 to find a Mind Crystal.
![]()
 |
 |
| Picture 31 | Picture 32 |
 |
 |
| Picture 33 | Picture 34 |
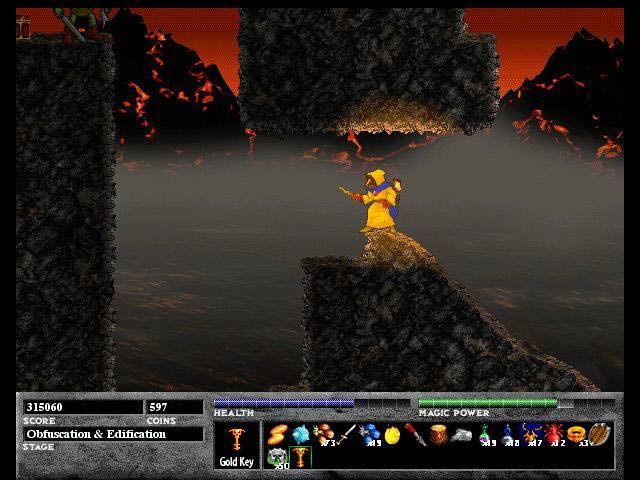
Exit the room in Picture 30 and use the Ice Wall spell to climb to the top to get to Picture 31. The chest has a Gold key that is needed for another door to get to the exit. Now go back to Picture 27 and go left past the water to Picture 32. Climb up and kill the Sword-wielding Goblin and break the wall as I am in Picture 33 to get a High Jump power up that I find to be useless in this level. Go back down and you'll be in Picture 34 which just happens to be to the right of Picture 17 and left of a door that needs the Gold key that you picked up earlier. Go through and there is a handy save point.
![]()
 |
 |
| Picture 35 | Picture 36 |
 |
|
| Picture 37 |
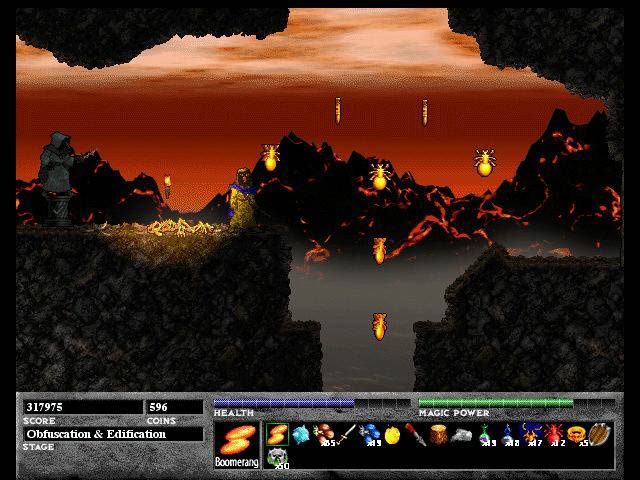
Go right and there is a platform in Picture 35 that I think was meant to let you go over the top spiked level but that doesn't work very well. The top spiked level does crumble but by the time it all crumbles you will be leaving this area anyway so it doesn't really help you at all. So run to the Picture 36 and climb up to the unlocked door to the left to get two Smite rings. Go to the right to get some Gold Xichrons and two Fire Seeds. Now go back down to the Spiked Ledge and run to the right to get to Picture 37. There is another Monster Generator and a teleporter. You'll be by a big lake after you use the teleporter.
![]()
 |
 |
| Picture 38 | Picture 39 |
 |
|
| Picture 40 |
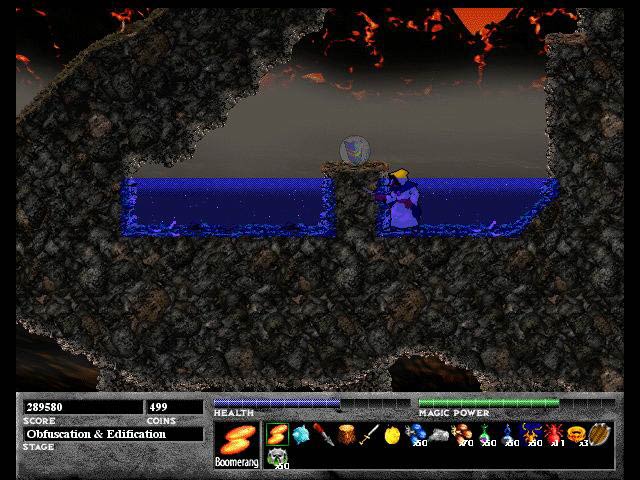
Jump in the lake and follow the path until you get to Picture 38. Do a Spin Jump to find a secret room and another teleporter. Use it to find yourself in Picture 39 and with quite a few Gold Xichrons. Grab them leave this room. The explore the rest of the lake for more Gold Xichrons and exit at Picture 40.
![]()
 |
 |
| Picture 41 | Picture 42 |
 |
 |
| Picture 43 | Picture 44 |
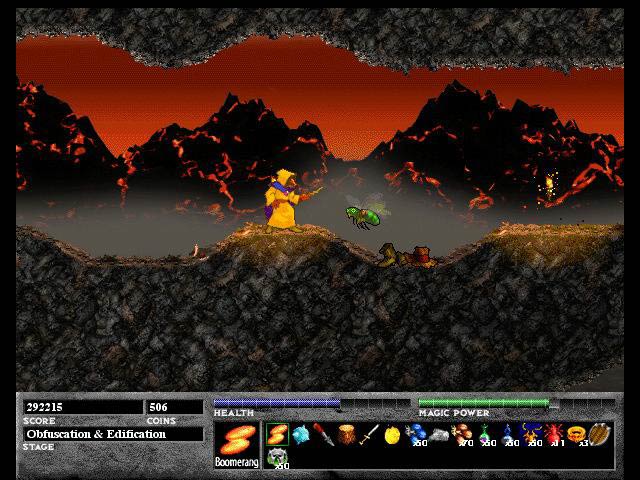
Go right to Picture 41 and then down through the gap to Picture 42 and go right to Picture 42. Break the wall and go to another teleporter to come out to Picture 44. Jump to the right and press the button. This will raise a door that blocks the exit. Be careful because the ledge to the right of Ferazel crumbles when you walk on it. Now go down and to the right.
![]()
|
![]()
This level was a winding and looping level that brought you back to where you started after finding a series of keys to open doors to get further in the level. You also got a Mind Crystal and Heart Crystal and enough Gold Xichrons so that you probably earned another Red Xichron. The secret level Purple Haze is also interesting and you can go to its guide to find out the secrets that it hides. Unfortunately, I only got 70% of the Enemies defeated even though I got 100% of the Xichrons and Secrets. I posted to the Ambrosia's Message Board and was told that no one has gotten 100% of Enemies defeated. The consensus is that the Monster Generators are messing up the count. I think that this score is less important than finding the secrets and Xichrons because they have a bigger impact on the game. If you have any comments on this or any of my guides, please email me.