Labyrinth
The Labyrinth is a huge level with a lot of dead ends and a lot of times you will have to make your way back to a previous branch. While I had done my best to make sure that you won't have to reverse course too many times, you will have to do that a number of times. Another facet of the Labyrinth is that most of the dangers you'll face are not from enemies but from the Labyrinth itself. These take the form of spiked balls, rotating knives, acid pools, and crossbows. At the end of this level, you will be a true expert in the art of jumping, climbing, and ducking to avoid environmental dangers. So let's go!
![]()
 |
 |
| Picture 1 | Picture 2 |
 |
 |
| Picture 3 | Picture 4 |
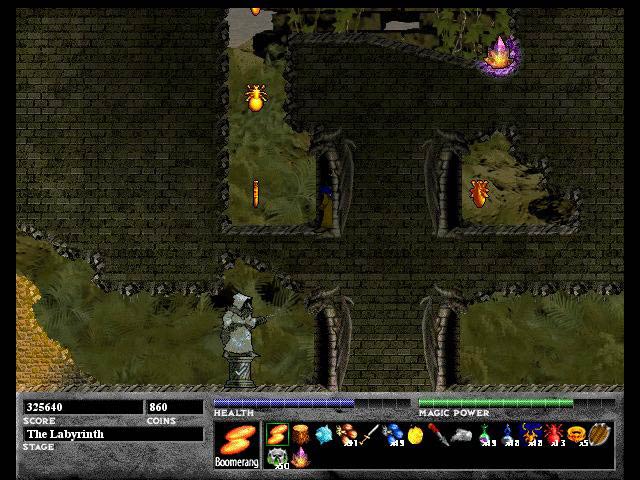
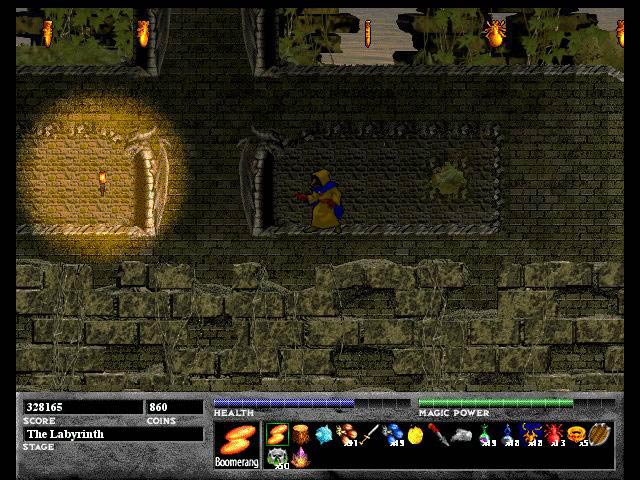
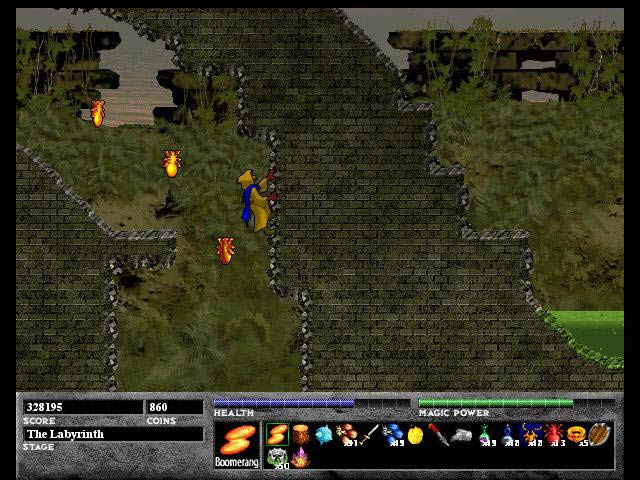
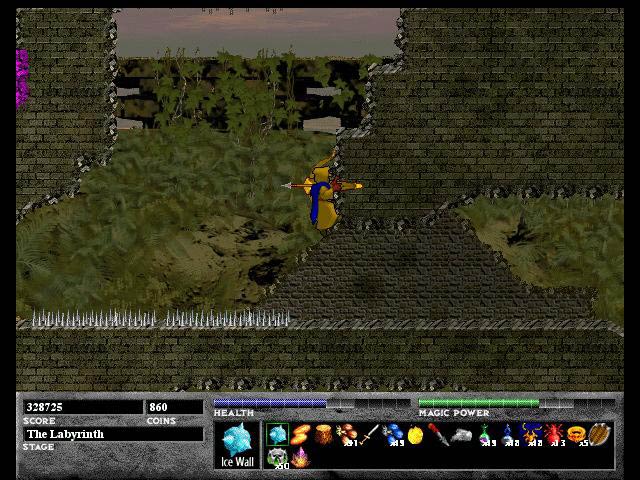
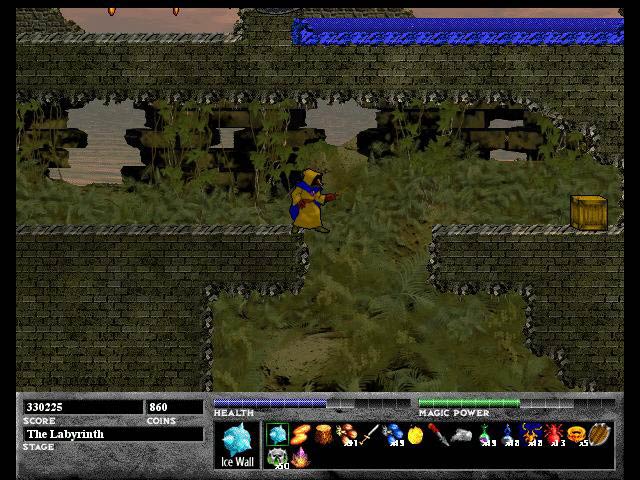
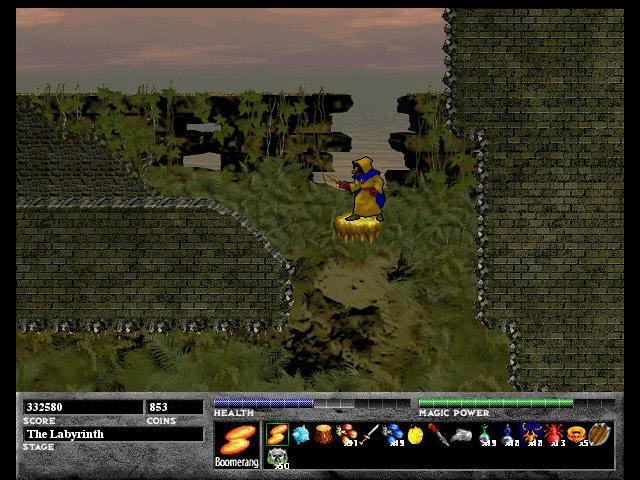
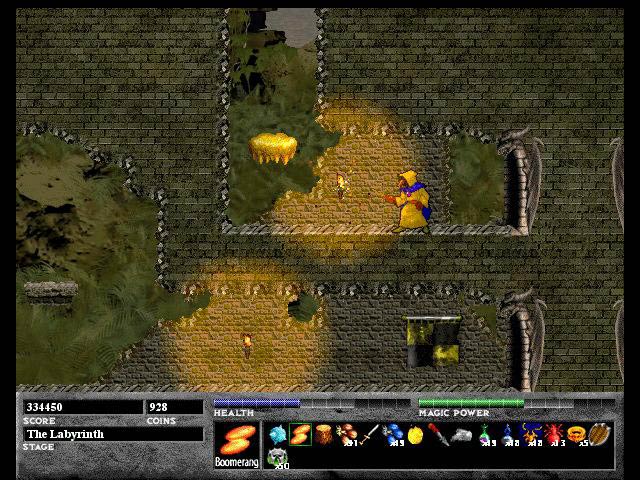
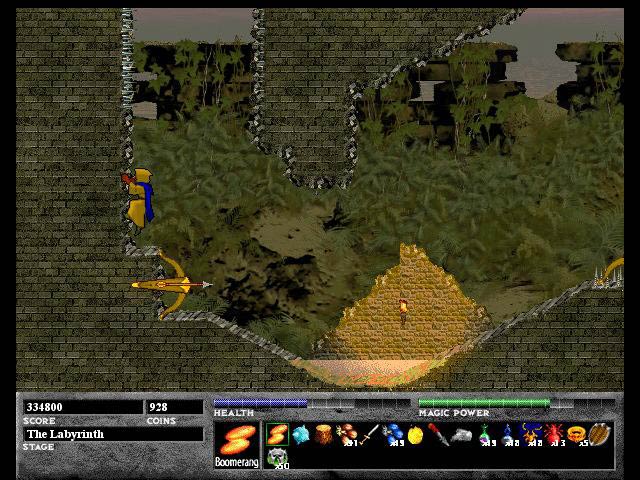
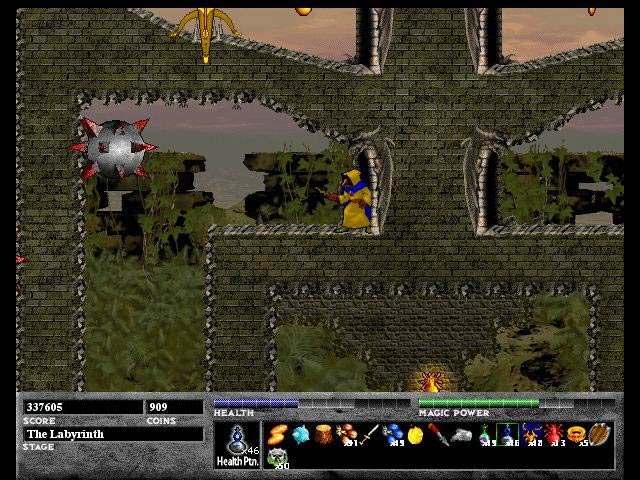
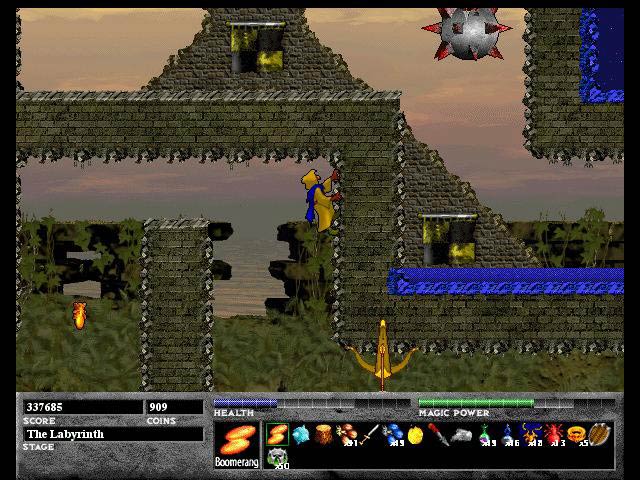
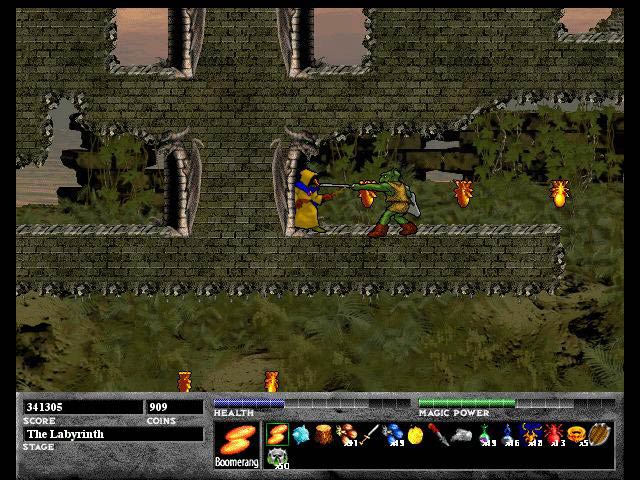
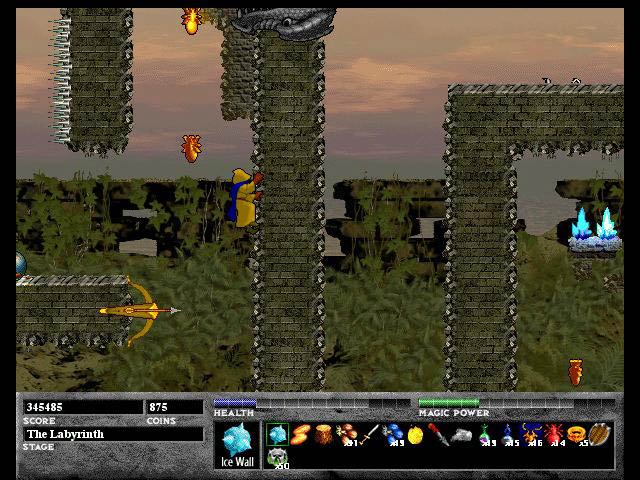
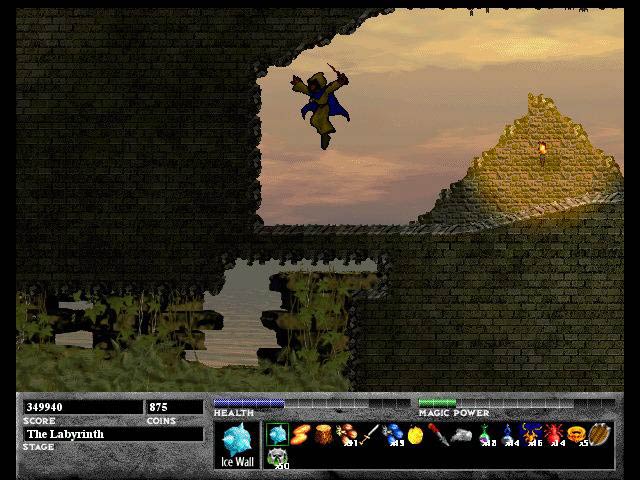
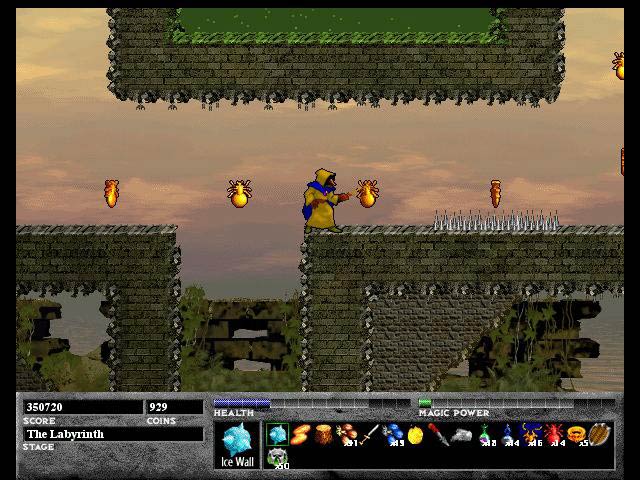
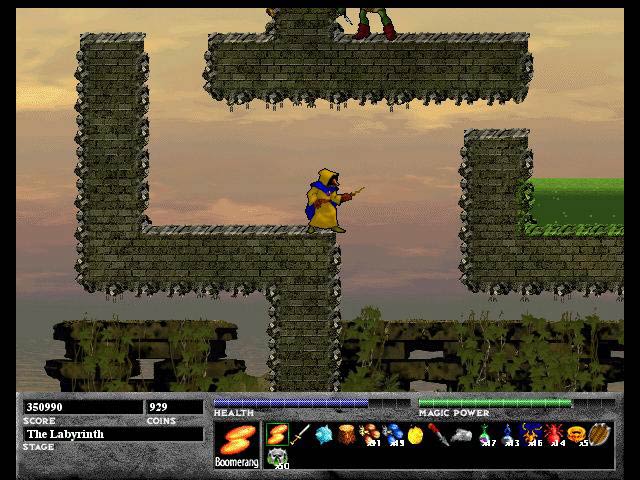
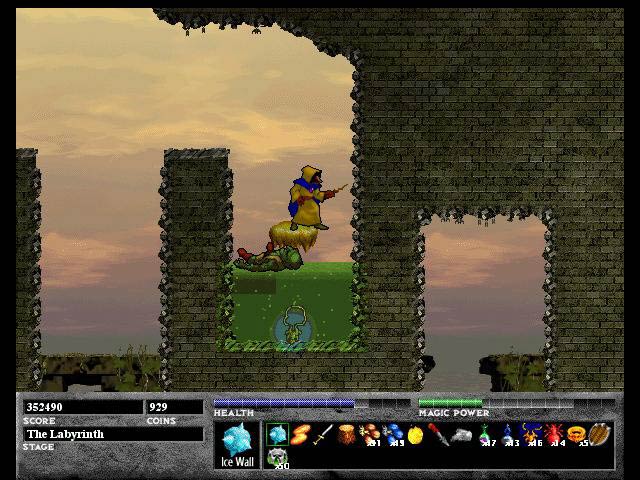
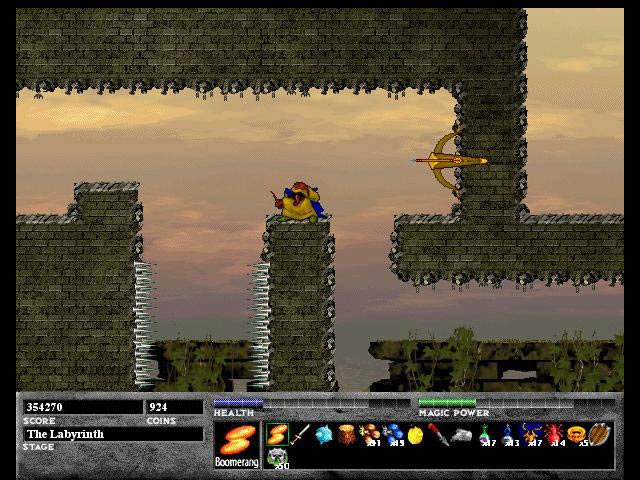
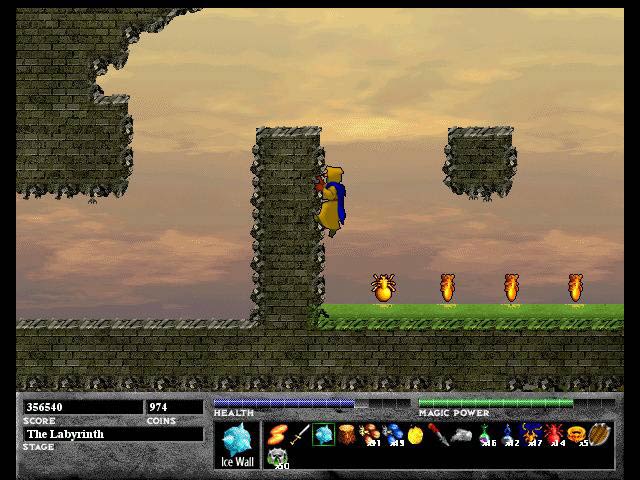
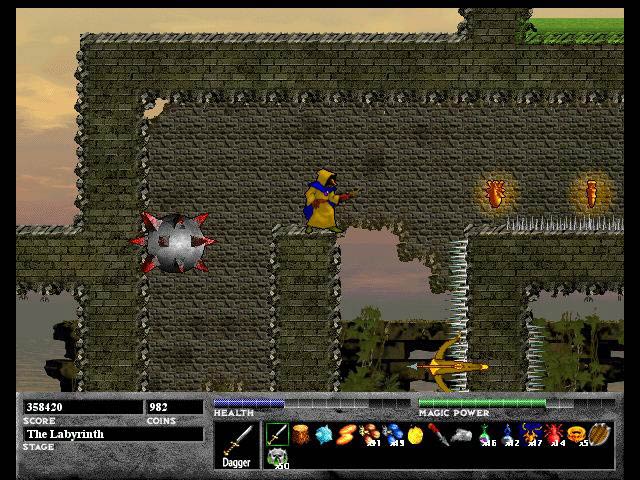
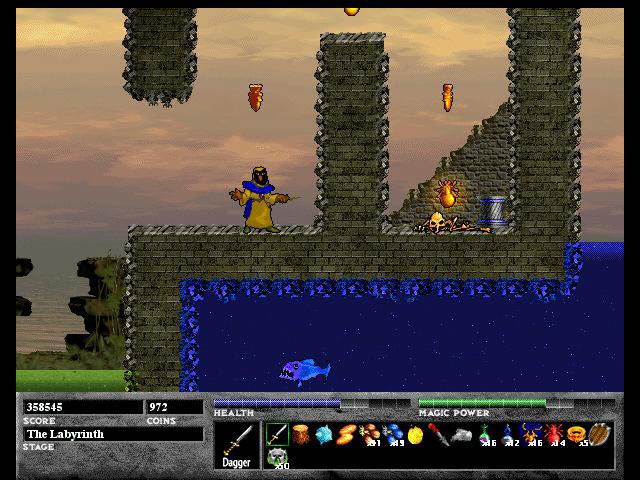
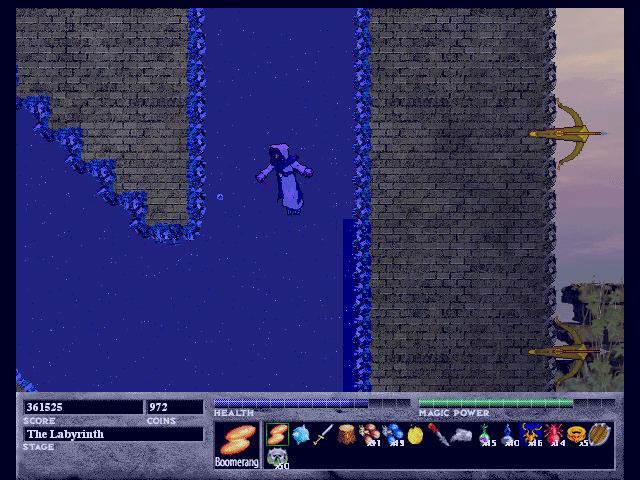
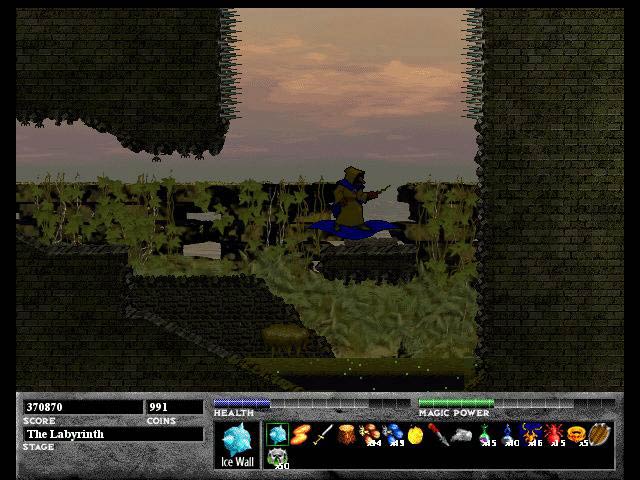
Go to Picture 1 and jump up in that passageway to get to the small cove that you see in Picture 1. Grab the Xichrons and I recommend leaving the Multi Crystal there for use in another level. Then leave this small cove and go as far to the right that you can to be in Picture 2 and go up in this passageway. Go right, over the water and the Dragon Cannon and climb as I am doing in Picture 3. Then go left after you get back on solid ground until you are where I am in Picture 4. Then you start climbing again.
![]()
 |
 |
| Picture 5 | Picture 6 |
 |
 |
| Picture 7 | Picture 8 |
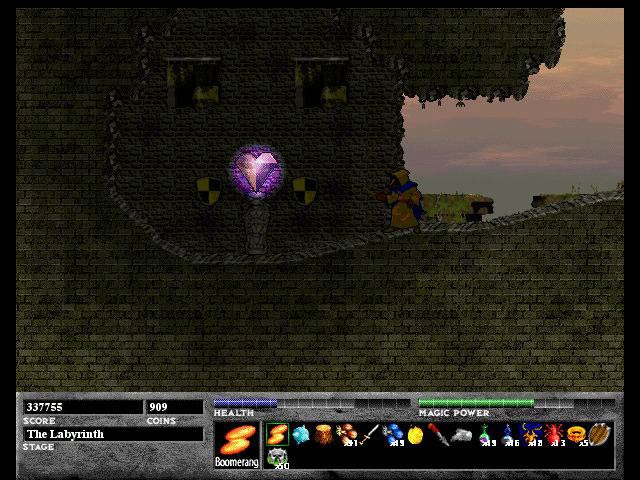
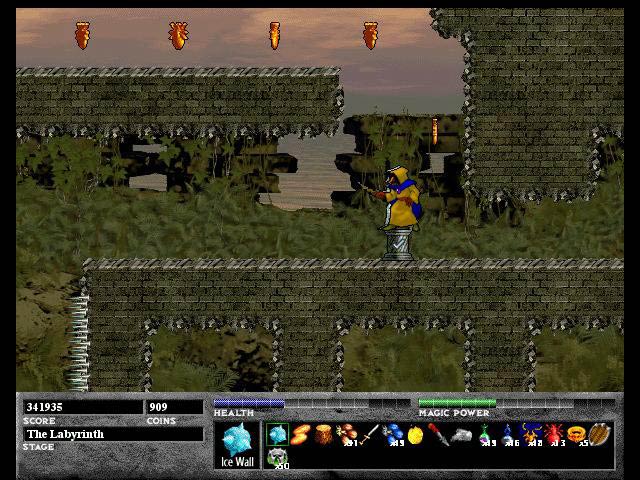
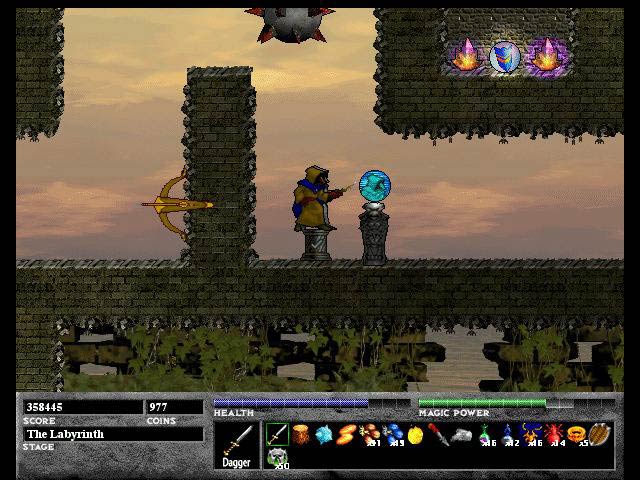
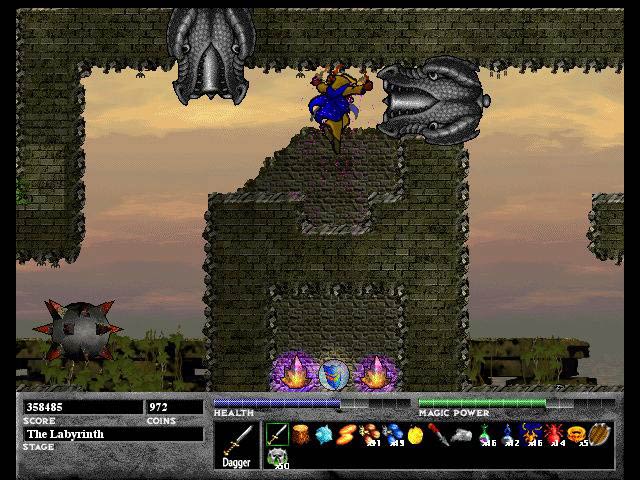
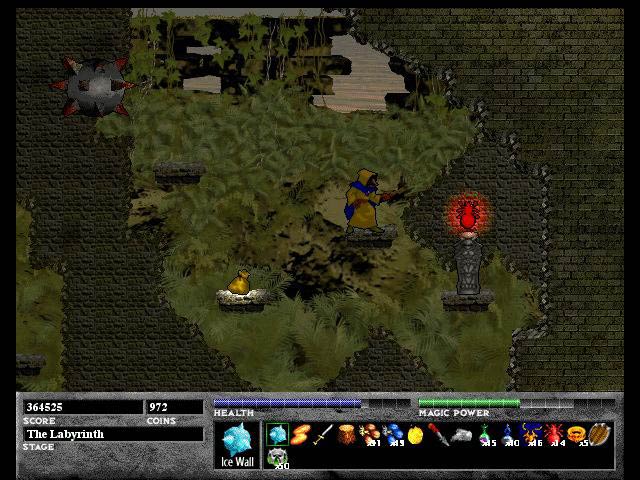
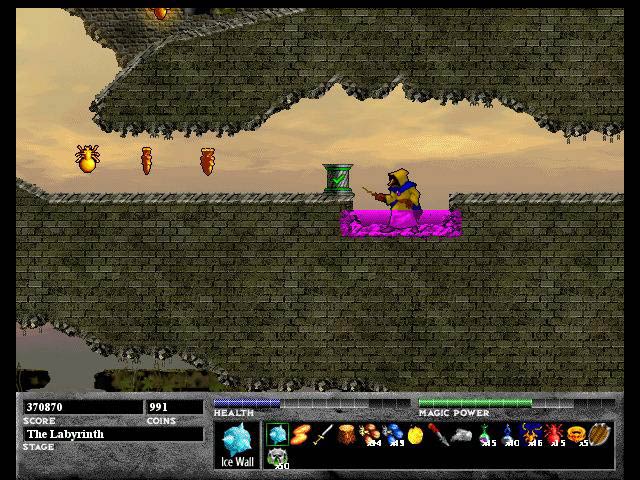
After climbing you will be in Picture 5. Get all of the goodies in this area and go down past the two crossbows, right over the acid pool, and to where I am in Picture 6. Climb up and then right to Picture 7. Be sure to explore the area that's above Ferazel. Then go to the right and then down past the spikes on the walls, the rotating spiked balls and the acid pool to find a teleporter in Picture 8. Jump on the teleporter.
![]()
 |
 |
| Picture 9 | Picture 10 |
 |
|
| Picture 11 |
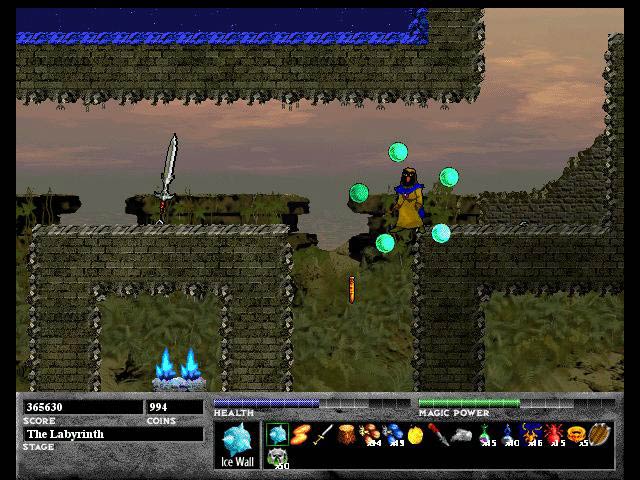
In Picture 9, go right over the water, on the platform and make sure to get all of the goodies in this cave. Then exit by the other teleporter to find yourself in Picture 10. This happens to be the same Dragon Gun that is by the entrance to the level. Don't fret since by going this particular path you have actually saved yourself a lot of backtracking. Now go through the Dragon Gun and head left grabbing the Gold Xichrons along the way until you get to Picture 11. Now you'll be heading back up.
![]()
 |
 |
| Picture 12 | Picture 13 |
 |
 |
| Picture 14 | Picture 15 |
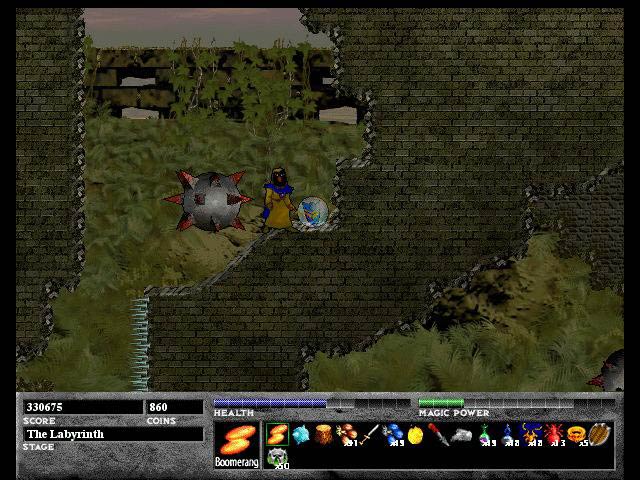
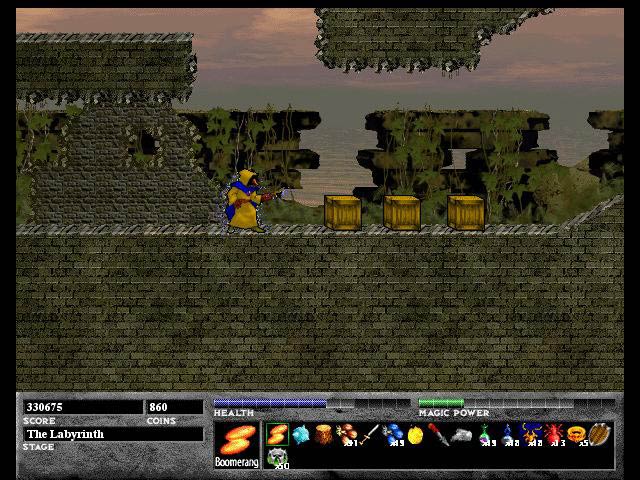
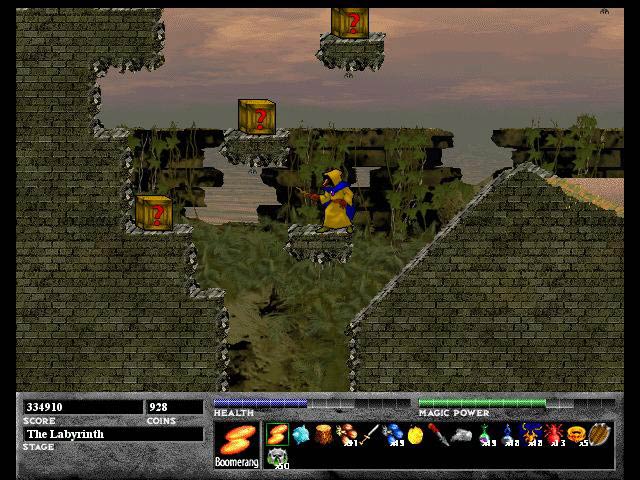
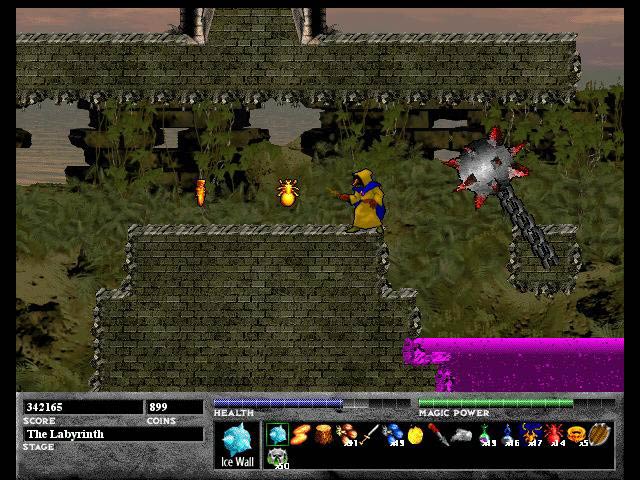
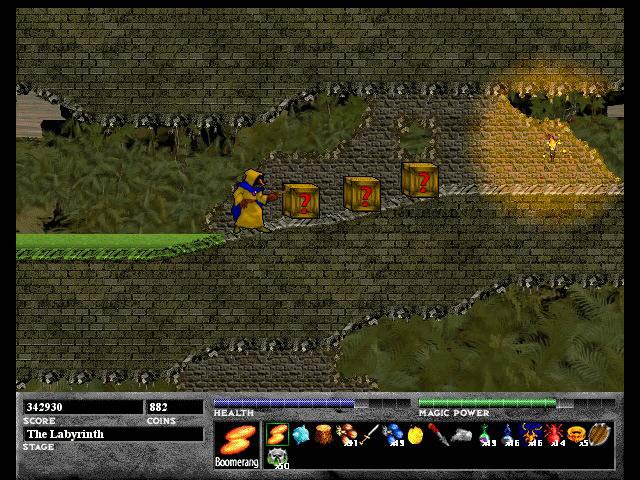
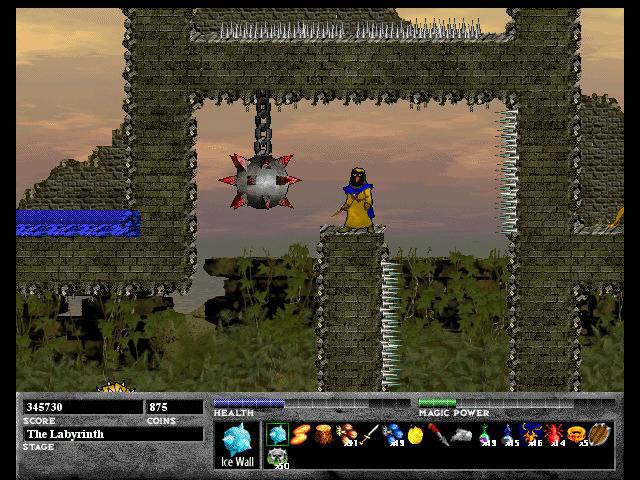
Now you'll be in an area with quite a number of chains. At the upper right is another Multi Crystal. You can take it if you want to but since there are so few enemies and this one is easy to get to, I recommend that you leave it here. Even if you do take it, it'll be broken by all of the crossbows ahead so it'll just go to waste. Then go left to where I am in Picture 13 over quicksand. You'll quickly sink and if you're in over your head, the effects are just like being underwater. So climb up as I'm about to do and you'll be in Picture 14. These are new kinds of boxes with question marks on them. What it means is that there is a possibility that there are goodies in them like money or health power ups or the Question Box could explode that will hurt you. Therefore, I recommend that you stay as far away as possible to avoid getting hurt. Or you could just avoid them if you want to. Whatever you decide to do, go on the highest platform in Picture 15 and break the wall to Ferazel's left to find a Double Speed power up.
![]()
 |
 |
| Picture 16 | Picture 17 |
 |
 |
| Picture 18 | Picture 19 |
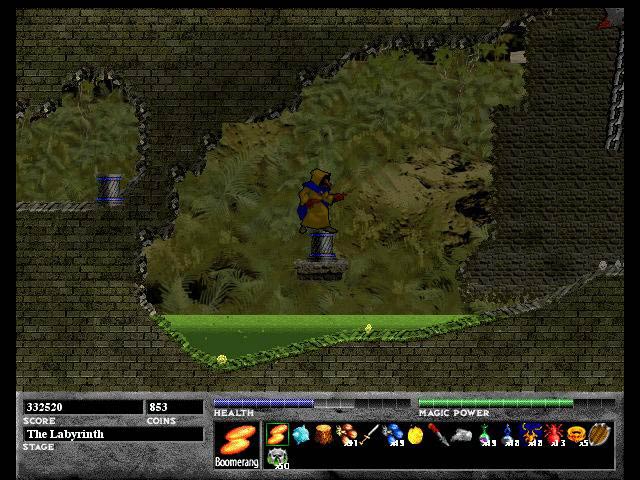
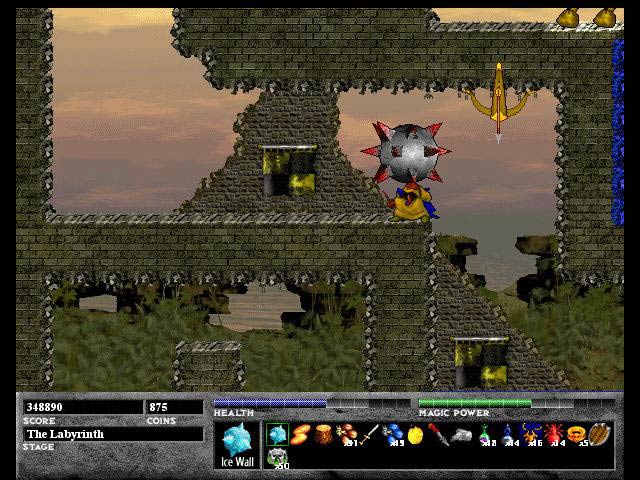
Go right over the quicksand and to Picture 16. You can't get hurt if you climb up right next to them so just climb up a little bit so the arrow opposite you flies and then climb up past it. Now go past the two corridors with the spiked balls and come out to Picture 17. Now you go up the passageway and to Picture 18. What you have to do is fire to the left of where Ferazel is in order to make a passageway. Go through and you'll find a Heart Crystal that gives you an added notch to your life bar. Now go back to where you came from and go right.
![]()
 |
 |
| Picture 20 | Picture 21 |
 |
 |
| Picture 22 | Picture 23 |
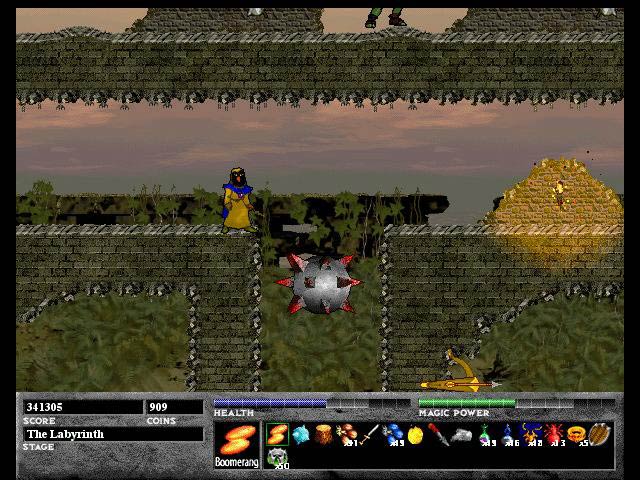
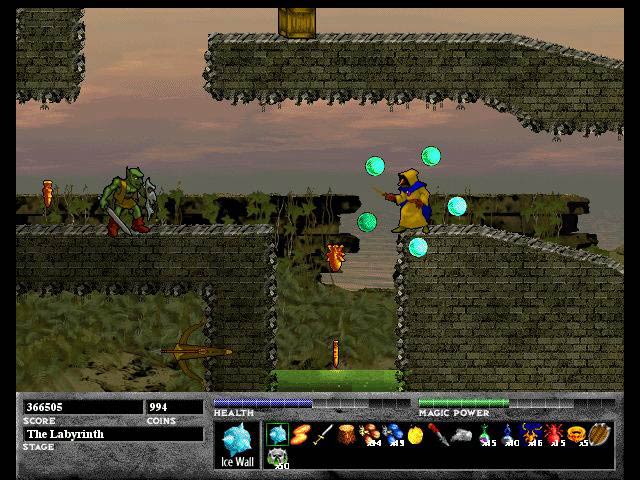
You'll soon find yourself in Picture 20. Go down past the spiked ball and right over the spikes and down the passageway to Picture 21. Kill the goblin and go left to the save point in Picture 22. Grab the Gold Xichrons above Ferazel's head and return to Picture 20 and then go right. Go down at the first opportunity to find yourself in Picture 23. The Ziridium Brine looks tempting but there is a fast swinging spiked ball just above and I found it impossible to avoid getting hit. Not even ducking helps and by the time I climbed out, I often got struck one or two times which negated the benefits that the Ziridium Brine provided. Unless you're in dire need of health and/or magic I'd avoid taking a dip altogether. Keep on going left.
![]()
 |
 |
| Picture 24 | Picture 25 |
 |
 |
| Picture 26 | Picture 27 |
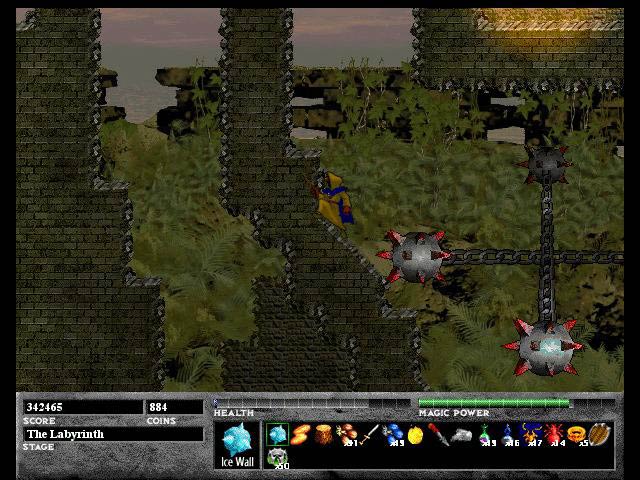
You'll see some more spikes on the walls and a Walk on Acid power up that I couldn't find any use for. Head on left to come across Picture 24 and two rotating spiked balls. Although it looks pretty intimidating, you can get past it without much difficulty. Go up and explore this area with the quicksand and then return back to Picture 24. This time go beneath the rotating spiked balls and go right. Hop on the floating platform over the acid puddle to find more question boxes as in Picture 25.
This is the first major backtracking that you'll have to do. Make your way all the way back to Picture 17 and climb up past the spiked walls and the spiked ball to get to Picture 26. Get on the floating platform and climb up making sure to avoid the crossbow that's at the top. Also wait and watch for the spiked ball that's in the corridor to the right to avoid getting hit. At the bottom and to the right is a nice pool of Ziridium Brine without any spiked ball or other dangerous thing nearby so you can have a nice refreshing drink.
![]()
 |
 |
| Picture 28 | Picture 29 |
 |
 |
| Picture 30 | Picture 31 |
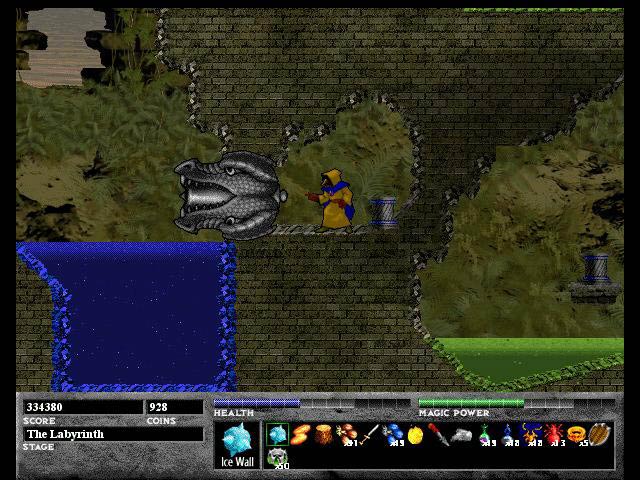
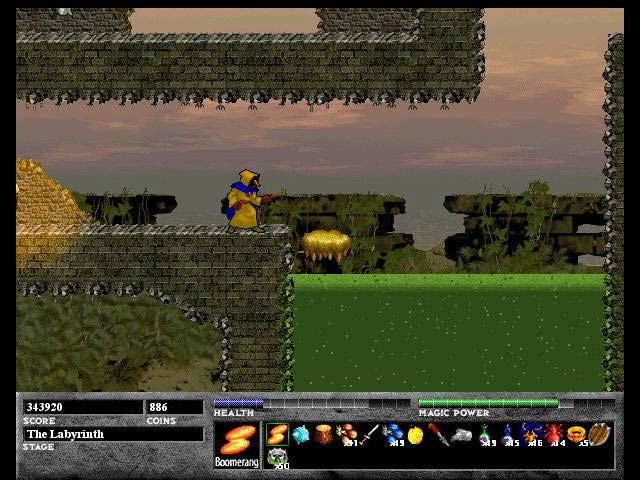
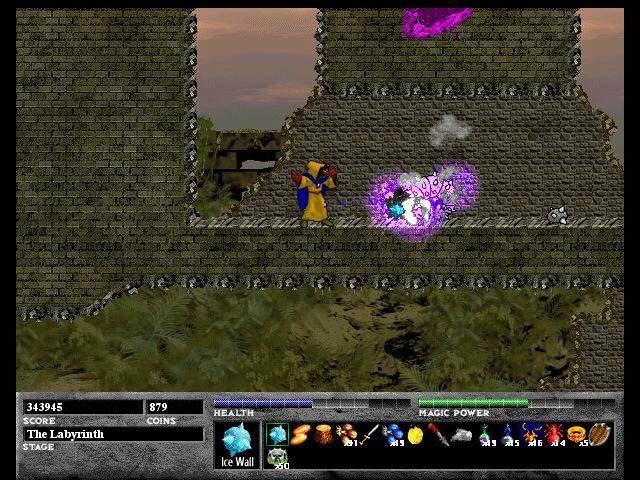
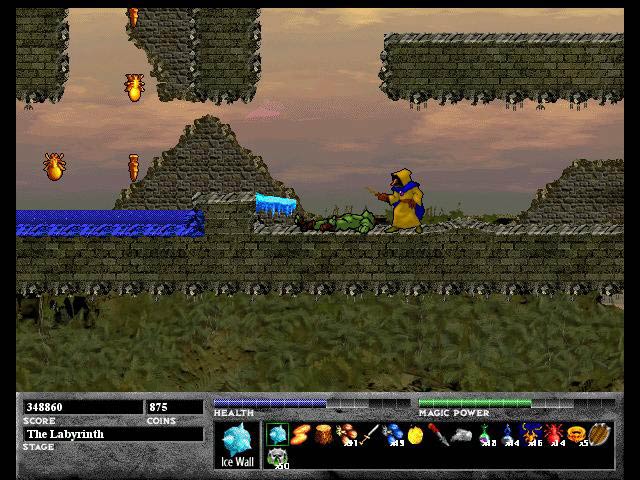
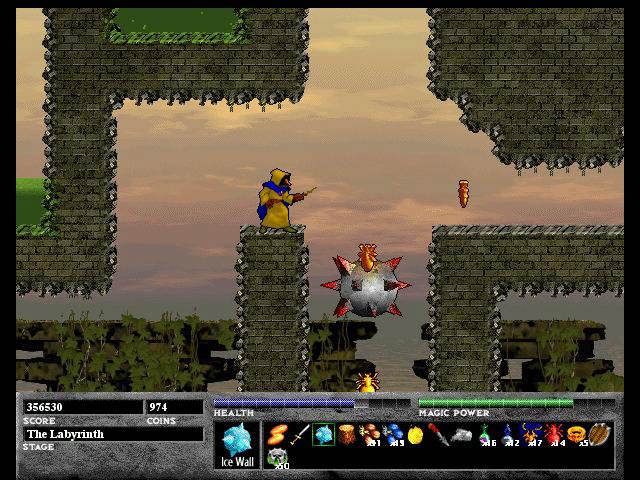
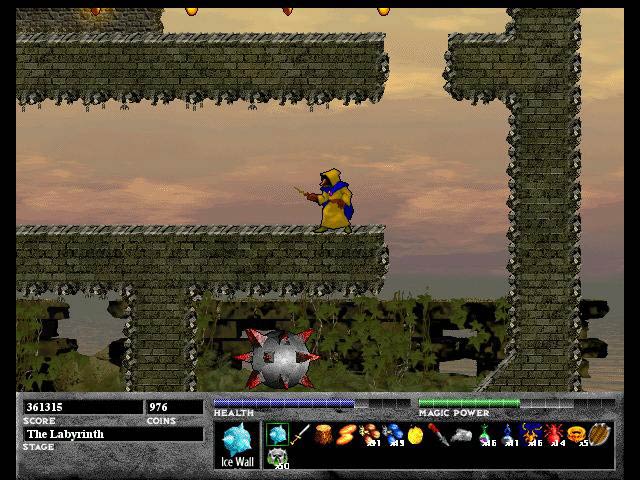
Now leave the Ziridium Brine and go down past the spiked ball and to Picture 28 and kill the Grey Spiked Fiend. Go right to Picture 29 and climb up in the area by the Dragon Cannon to get the Xichrons. Then go back down and head left, following the trail to get to Picture 30. The spiked walls would be a problem but if you got the Ice Wall spell, it will be a piece of cake if you have enough magic energy. Then keep on going killing the two goblins along the way until you are by the water as in Picture 31.
![]()
 |
 |
| Picture 32 | Picture 33 |
 |
 |
| Picture 34 | Picture 35 |
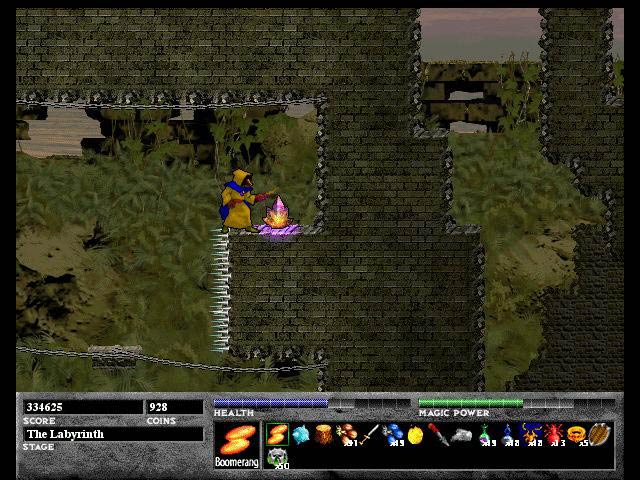
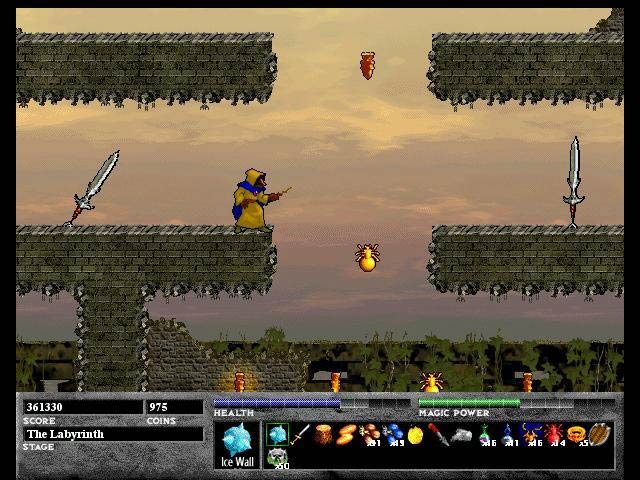
Go left over the water and then up, being sure to duck under the spiked balls until they pass overhead so you can stand back up and keep on moving left. Keep on going left over the acid and spikes on the ground until you get to Picture 33. Spin jump as I am to break the ground and reveal more question boxes. Go back to Picture 31 and then climb up until you get to Picture 34 and go left. In Picture 35, you'll have to fire up and to the right to break open the wall as I did. Then go through to find more weapons and enemies.
![]()
 |
 |
| Picture 36 | Picture 37 |
 |
 |
| Picture 38 | Picture 39 |
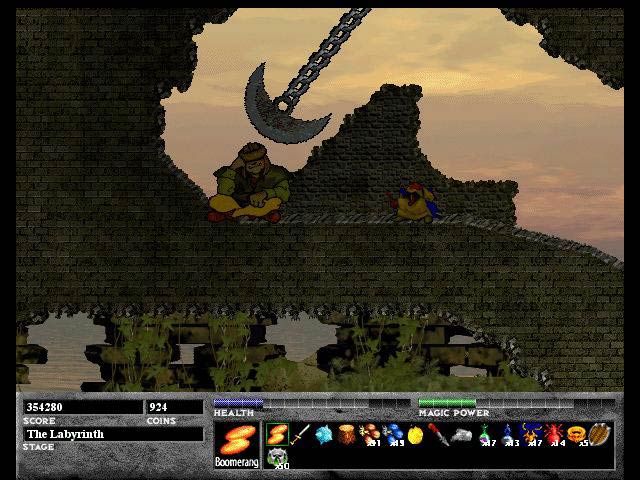
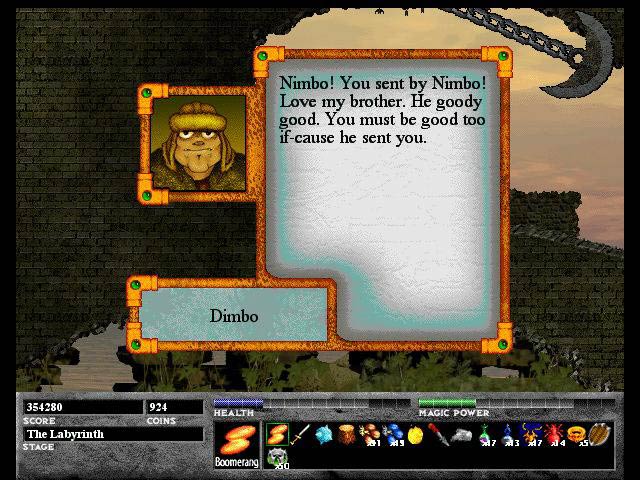
In this small cove, you'll find two goblins and a couple of Xichrons and a Rez Necklace that you can see in Picture 36. The notch or two of life that you'll lose in getting it is worth it. Now leave and go left to Picture 37. Again, you'll have to fire to Ferazel's left to break the wall and go through it to find an odd figure. He's sitting quite comfortably beneath a rotating ax looking rather bored. Go up and talk to him to find that he is the brother of Nimbo who you met earlier. After talking to him he will disappear quite suddenly leaving you to find your way out of the Labyrinth without any help. Other than mine of course. :-)
![]()
 |
 |
| Picture 40 | Picture 41 |
 |
 |
| Picture 42 | Picture 43 |
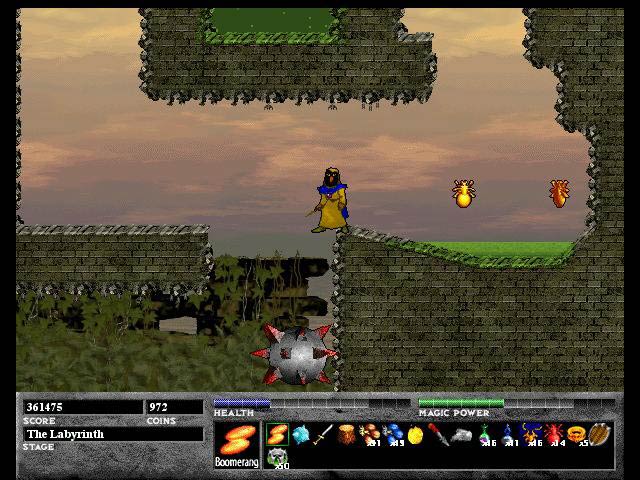
Now go back to Picture 37 and go down to the left of Ferazel and since this place is a dead-end, just explore the area and return to Picture 34 and then go right to Picture 40. At this point go directly right until Picture 41. This place is a dead end as well with some Gold Xichrons over an acid puddle. After getting the Gold Xichrons return to Picture 40 and this time go down. Kill the two spiders and follow the path to the right until you come across Picture 42. Go down to Picture 43 and save.
![]()
 |
 |
| Picture 44 | Picture 45 |
 |
 |
| Picture 46 | Picture 47 |
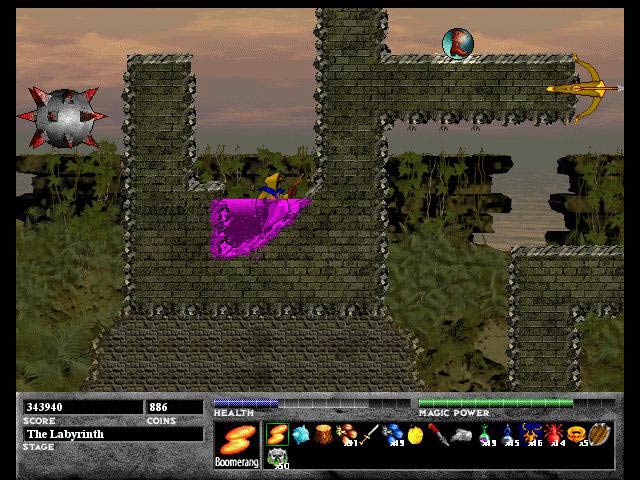
Go up to Picture 46 and spin jump to get the Invincibility power up as I am doing. Unlike all of the other Multi Crystals, you can take these if you want to because they are hard to get to. Now go back down to the save point and then right and down to Picture 45. Grab the Gold Xichrons but don't get on the teleporter because you'll be back in Picture 44 and I don't want that. Go left and follow the path to the left to the water, making sure to kill the two fish, climb up past the crossbow and the spiked ball to get to Picture 46. Go left past the spinning knives to Picture 47. Go up to the area above Ferazel's head and get all of the Gold Xichrons in this area as well as the area below Ferazel. After you're done go to the right of Ferazel in Picture 47.
![]()
 |
 |
| Picture 48 | Picture 49 |
 |
 |
| Picture 50 | Picture 51 |
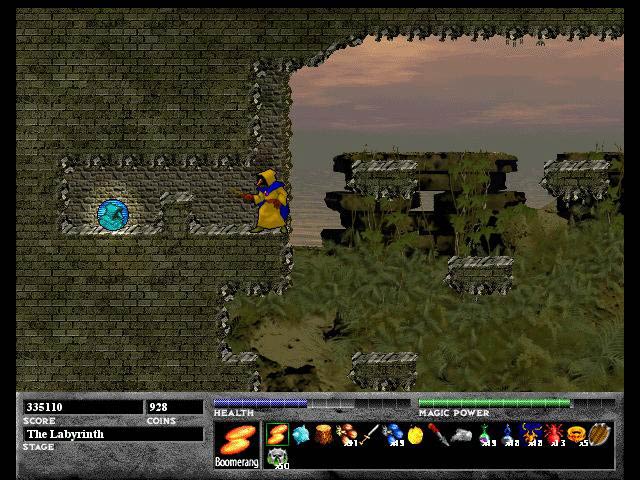
Go down the long corridor making sure to avoid the two spiked balls and you will be in Picture 48. Go right over the acid puddle, getting the Gold Xichrons, and then climb up to find an oddly shaped body of water. Go through the water, kill the spiked fiend, and get on the teleporter to appear in Picture 50. In this cave you'll find a Red Xichron, some coins, and a Pentashield power up. Leave this area and return to Picture 48.
![]()
 |
 |
| Picture 52 | Picture 53 |
 |
 |
| Picture 54 | Picture 55 |
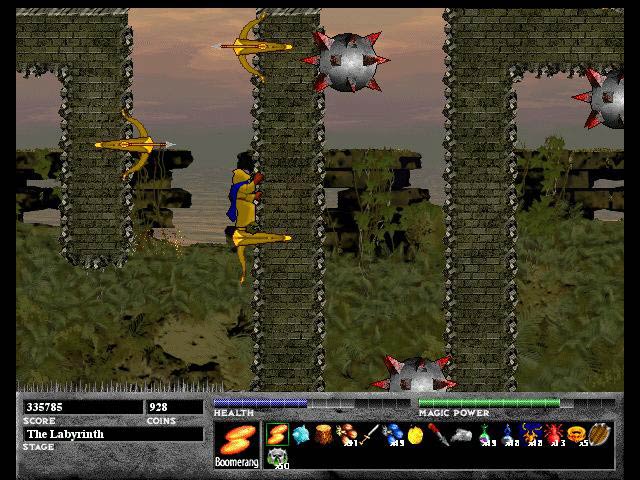
Go down and left past the spinning knives to Picture 52. Go down and get the Gold Xichrons and Health Crystals. Go back to Picture 52 and go left to a narrow corridor with another spiked ball and spikes at the bottom. Fortunately, there is a save point so you won't lose any of the hard work that you've accomplished so far. Go right along this path past two Dragon Cannons, two spinning knives, a crossbow, a spinning spiked ball, to come to Picture 53. Get the Gold Xichrons and kill the goblin. Go to the left of where the goblin was to get more Gold Xichrons. Go back to where the goblin was and then go up. Follow the path, killing all enemies as you encounter them to be in Picture 54. You will find a flying carpet that you can control with the direction keys. There are a number of crossbows on either side of the corridor. To avoid getting hit by the crossbows fly next to one and then up. At the very top, jump to the wall and up in the passageway. There are some spikes on the ground that are very difficult to avoid but that's not a problem since there is a Ziridium Brine puddle in Picture 55 right next to a save point. Save and grab to the rest of the Gold Xichrons to get 100% of everything as I did.
![]()
This was a large level with many dead ends and a few times where you had to backtrack. I think it was a challenging level and I couldn't have finished it without the wonderful map provided at Ereid's Ferazel's Secret Page . I referred to it often when I was finding the best path through the Labyrinth and I recommend grabbing it if you are having trouble getting through this level. It's available in both a PDF and a JPEG file. Next up is a boss level, the Manditraki Wizard. If you have any comments or suggestions, please email me.