If You Can't Stand the Heat
If You Can't Stand the Heat is a tough level and you will probably curse this level many times before you finally make it through. The reason is a wall of fire that chases you and never slows down, forcing you to keep running. This is also a level in which it is extremely difficult to get all of the secrets and Gold Xichrons without getting burned to a crisp. If you're not concerned about killing any of the monsters, you could use the Statue spell to temporarily freeze the enemies as you run on by. I didn't try this but it seems like a great way of avoiding most of the potential damage. The only reason that I recommend making your way to the last fire level is to get the Fire Charm which protects you against fire damage.
![]()
 |
 |
| Picture 1 | Picture 2 |
 |
 |
| Picture 3 | Picture 4 |
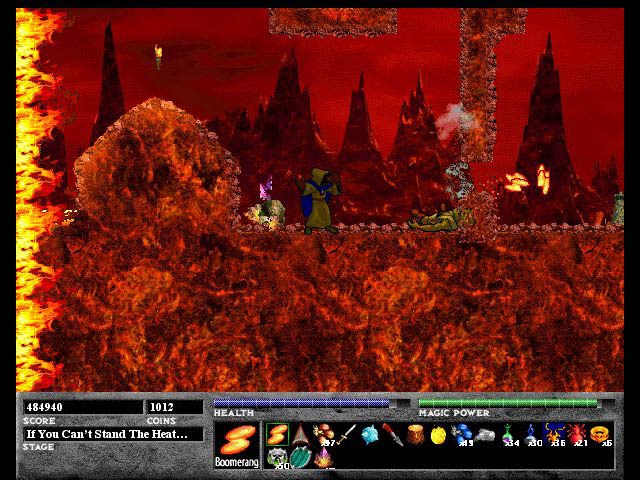
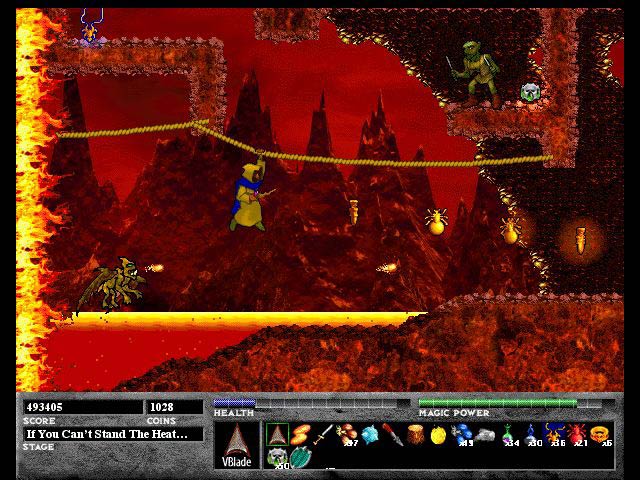
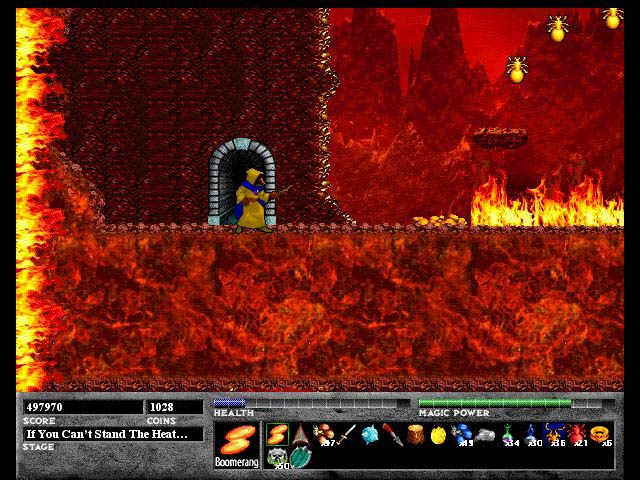
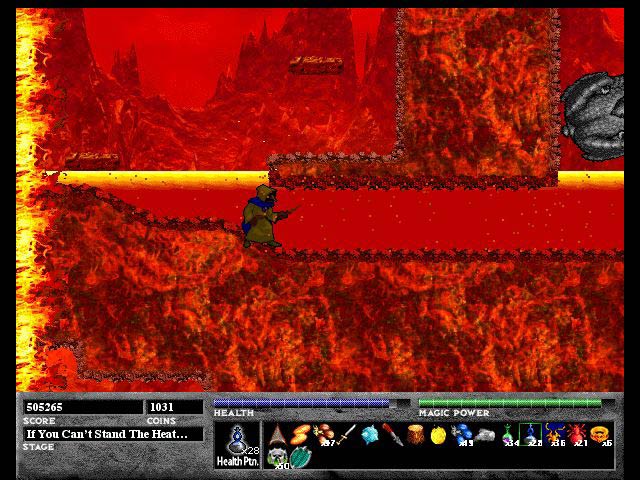
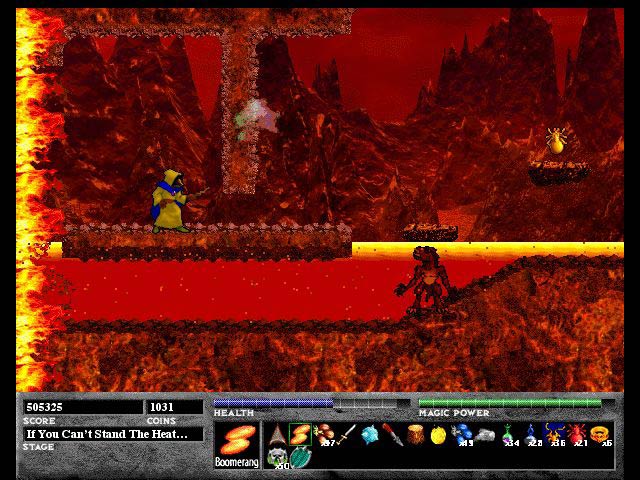
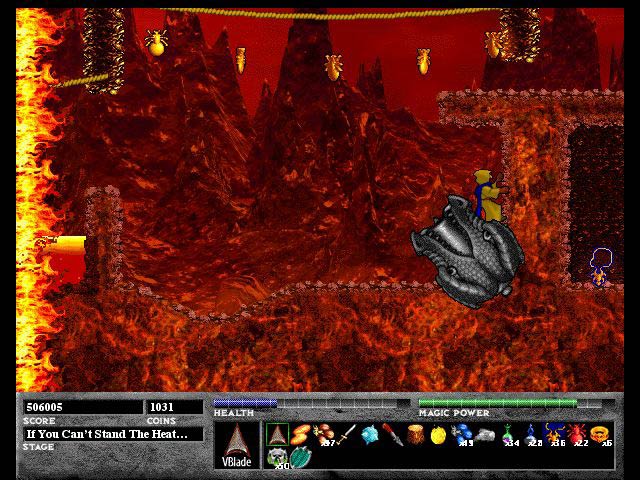
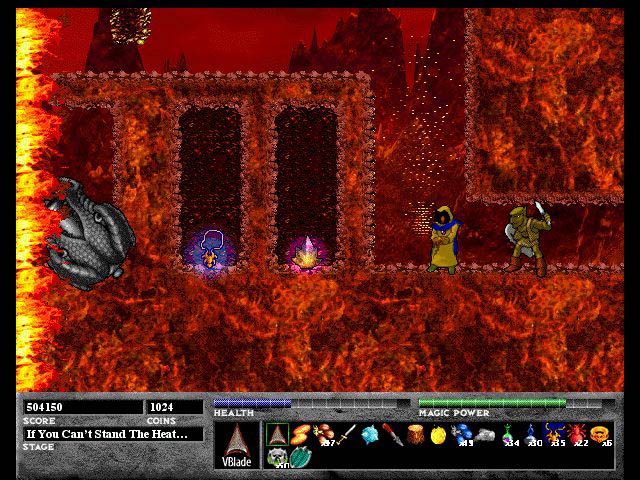
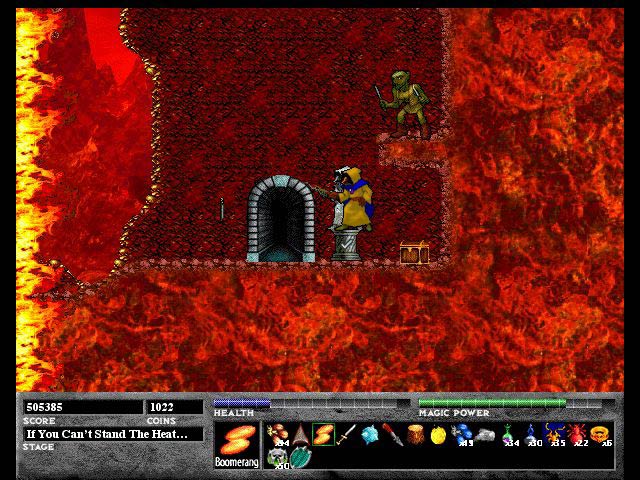
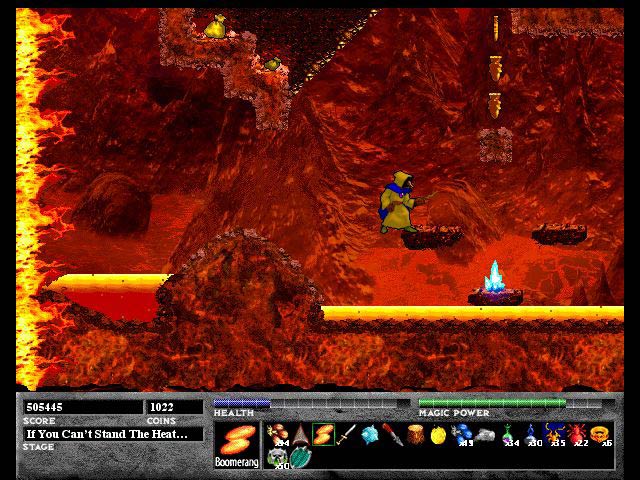
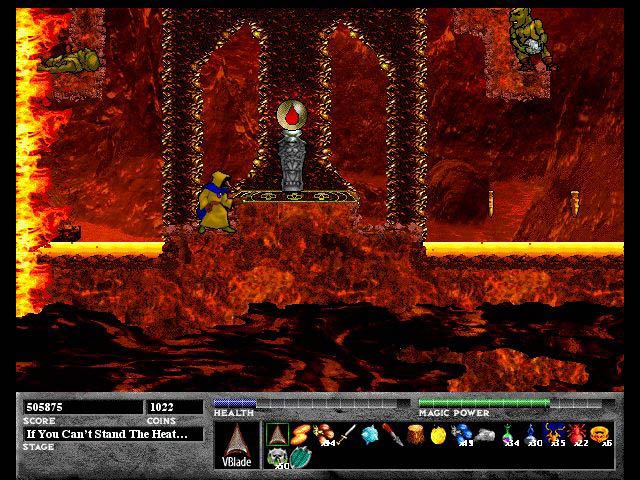
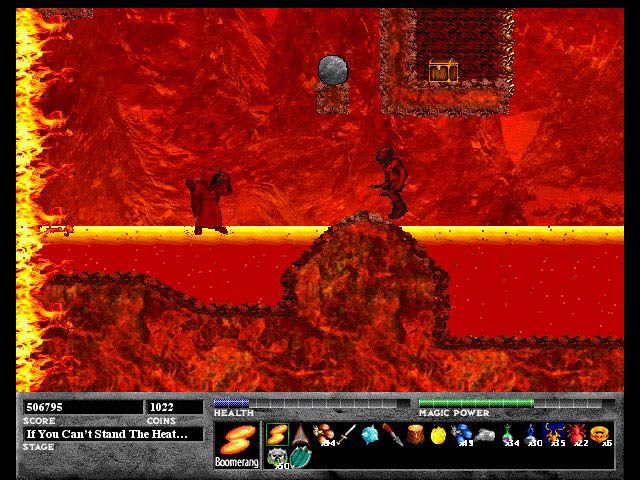
You start out in Picture 1 and hop over the lava to the right. Kill the goblin and use your Boomerang spell to break the wall as I am in Picture 2. You'll see many flying goblins as in Picture 3 that are perfect for use with the VBlade. Just don't too much time trying to kill them since it's far more important to keep ahead of the wall of fire. Keep on going right and in Picture 4 you can go on the top level where I am to kill the goblin and break the crates for large crystal power-ups. Keep on going right and past some Salamendars that are killed by crouching and using your Boomerang spell.
![]()
 |
 |
| Picture 5 | Picture 6 |
 |
 |
| Picture 7 | Picture 8 |
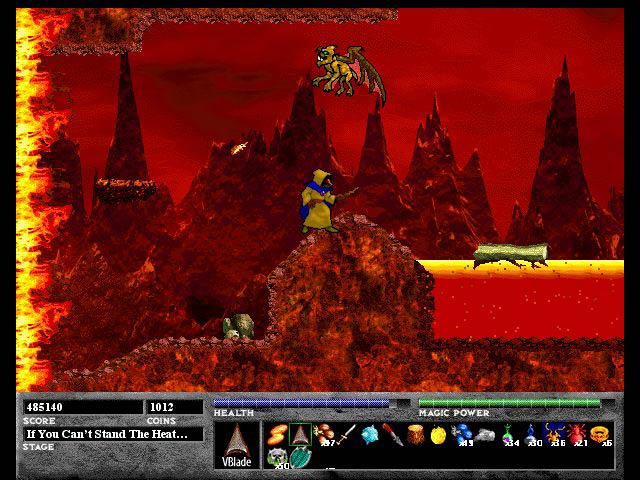
In Picture 5 you have to hurry past this maze and use the VBlade to break a path at the end. After that you'll be in Picture 6 with a brief chance to heal up. The boxes contains money sacks and large crystal power-ups. Go to the right and on the rope that is hanging over the lava to Picture 7. There is a Resurrection Necklace and an Escape Ring that you can grab, but I'd do it after I killed the monsters. Just a few steps past this are the Fire Slimes in Picture 8. They are tough to kill and can hurt you pretty badly so I'd avoid them or use Fire/Ziridium Seeds to kill them all. Past this is a Save Point that I'd definitely use if I were you. Now go through the door to get to the next area.
![]()
 |
 |
| Picture 9 | Picture 10 |
 |
 |
| Picture 11 | Picture 12 |
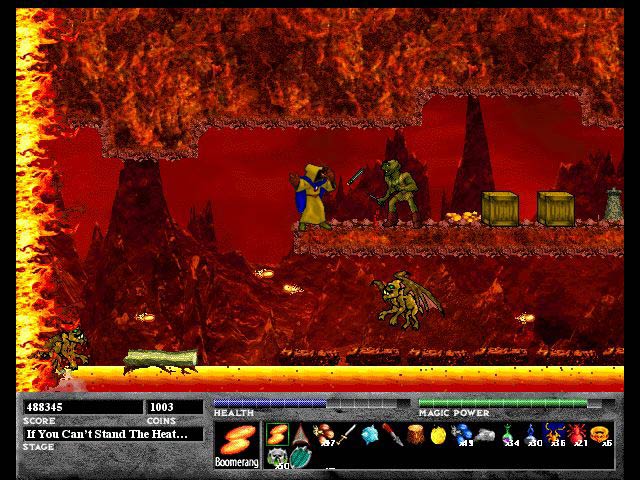
Once you're in Picture 9, run to the right and over the fire to get the Gold Xichrons. Keep on going to the right and in Picture 10, you can get the large life power-up by using the VBlade and quickly getting out of the hole that you make. Go to the right over more lava and salamenders to Picture 11, where you'll have to go below to the lava to get past the wall. Skip the first Dragon Cannon since it rotates and use the one to the right. If you're fast and hop out of the lava as much as possible, you won't get hurt very much. The Dragon Cannon will fire you to Picture 12 where you'll have to use the Boomerang spell to break open the wall to continue. As always, there is another salemender waiting to block your frantic running to the right.
![]()
 |
 |
| Picture 13 | Picture 14 |
 |
 |
| Picture 15 | Picture 16 |
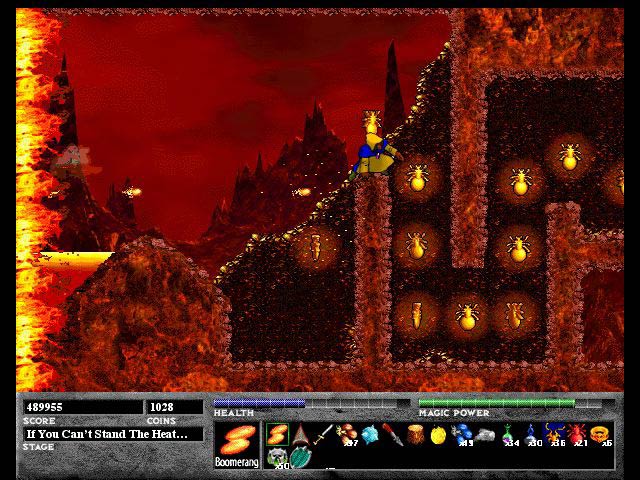
Pretty soon you'll see some ropes hanging over some lava and more salemenders. Use the VBlade to dispatch them or just try to outrun them. There are Gold Xichrons below the rope and you'll get them just by using the room so you don't have to fall to the lava below to grab them. Go past the Dragon Cannons after you get off the ropes and you can see part of them in Picture 14. If you press right after getting shot in the Dragon Cannon in Picture 14, you will land to the right of the lower Dragon Cannon which makes running to the right easier. In Picture 15, the easiest way is to not fall down from the rope but if you want to get the Gold Xichrons on the bottom you have no choice. You have to jump in the Dragon Cannon and hold right as you get shot out so you either get back to the rope or to the ledge. Either way, you have to shoot the wall in order to past it. When you make it past this, you'll be in Picture 16. You can get the Resurrection necklace and the Multi Crystal by breaking the wall using a spell of your choice. There are two sword goblins to your right and I prefer killing them with Fire Seeds since that is faster than any other skill.
![]()
 |
 |
| Picture 17 | Picture 18 |
 |
 |
| Picture 19 | Picture 20 |
Right after Picture 16, is a Save point, a chest full of coins, and a knife-throwing goblin in Picture 17. Getting the chest or the goblin isn't important but saving your game is. Go through the door and there is a Smite ring that I can see (more visible when starting from the Save point) but I don't think is possible to get. Keep on going right and you'll be in Picture 18 with a few coin sacks and Gold Xichrons. Right after this you'll be in Picture 19 surrounded by Rock-throwing goblins and a Walk on Lave power up. I'd wait to get it for as long as possible because you want to be able to walk on lava until you get to a safe point. Go to the right and you'll see a Red Goblin that is really tough. You can kill him with Fire/Ziridium Seeds but I just use my Boomerang spell and push him in the lava where he can't hurt me and continue.
![]()
 |
 |
| Picture 21 | Picture 22 |
 |
 |
| Picture 23 | Picture 24 |
If you are fast enough, you will be in Picture 21 and will be able to grab on the rope before your power up expires. You'll kill more salamenders and flying goblins with your VBlade until you get to Picture 22. This is the trickiest part of the entire level and will most likely require several attempts to get past it. What I did was jump on the ledge before the Dragon Cannon and fire Fire/Ziridium Seeds into the Dragon Cannon until the fire wall got too close and jumped in myself. Keep on firing Fire/Ziridium Seeds until the rock around the red button is like what I have in Picture 23. Then you have to push the rock on the red button so the door opens and you can go through. Now you can rest because the level is just about over. You'll have to hop over more fire spouts and will end up in Picture 24 with Ziridium Brine so you can heal up and a Save point.
I didn't get 100% of the enemies defeated, xichrons collected, or secrets discovered but the great thing about this level is that everything is out in the open. If you want to come back and try to get the power ups that you missed the first time then you are perfectly able to do that. However, if you've been following my guide then you will have enough Red Xichrons to get to the End of the Earth level and the other power ups are merely icing on the cake. Also, it gets a lost worse in the next level so prepare yourself.