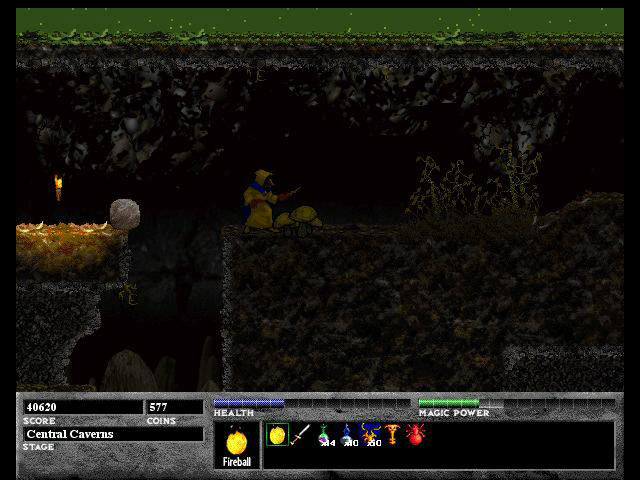
Central Caverns
When Ambrosia called this level the Central Caverns, they only hint as to the importance of this level. It's so big that it even boasts two exits but if you keep your wits about you, there will be no problems. I used a strategy in this level of exploring everything above and below before continuing to the left or right on the main level. I don't know if this will work on other levels, but it definitely helped me here. If you have any comments or problems with this guide, you can email me. I welcome all criticisms, good and bad.
![]()
 |
 |
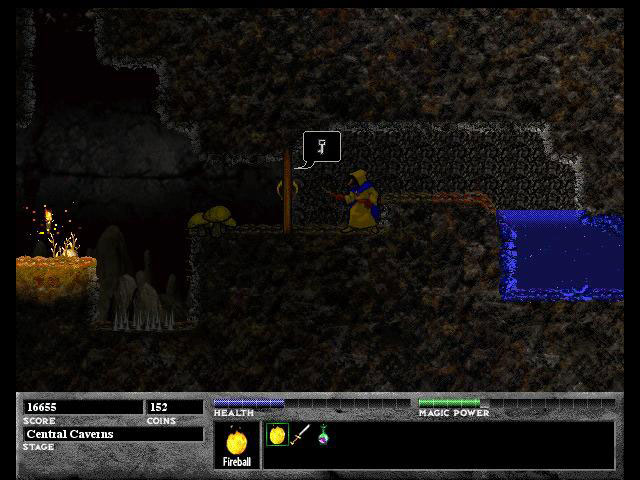
| Picture 1 | Picture 2 |
 |
|
| Picture 3 |
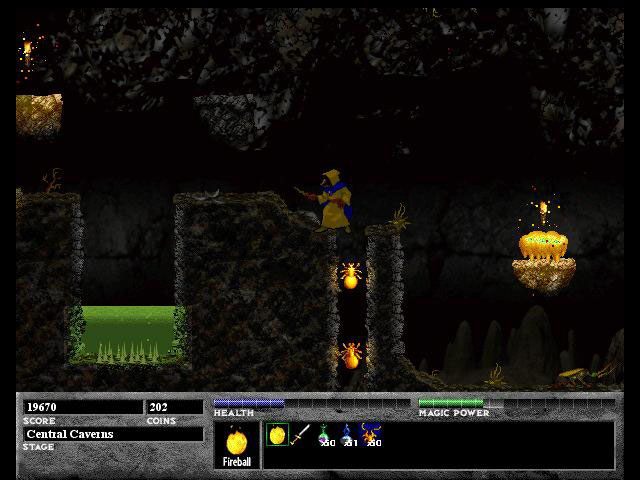
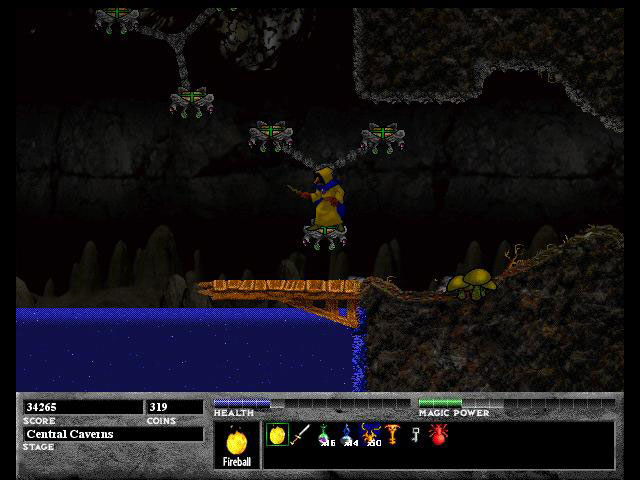
The first secret is just to the right of entrance and is where the revolving platform is located, above the ladder and to the right of the green bubbly stuff which is acid. Just like real acid, this stuff will burn your skin so be sure to stay away from it if at all possible. Hop on the platform and you will find yourself in a similar situation to Picture 1. Wait until the platform gets to the top and you will see a floating platform that goes to the left and right. What you need to do is run to the right of your platform and jump while carefully aiming yourself to land on the floating platform. It's pretty tricky but you'll become a better jumper once you do it successfully. Go to the right to grab the Xichrons that you can see in Picture 2 and shoot the wall to go even further to the right. After a lot of shooting, you'll get to Picture 3 and even more Xichrons. After you're done, leave the area and go back to the revolving platform.
![]()
 |
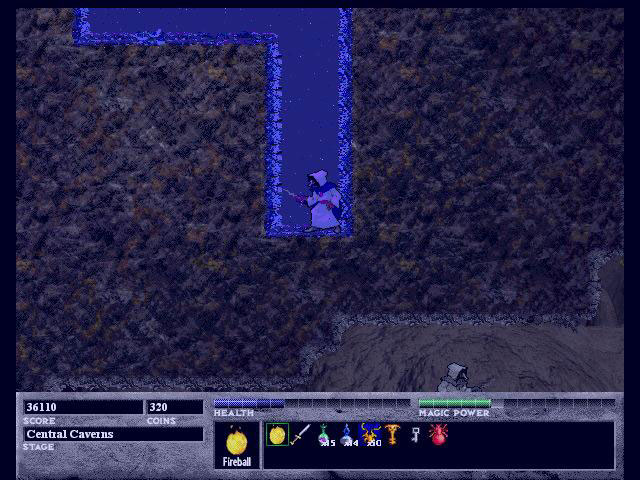 |
| Picture 4 | Picture 5 |
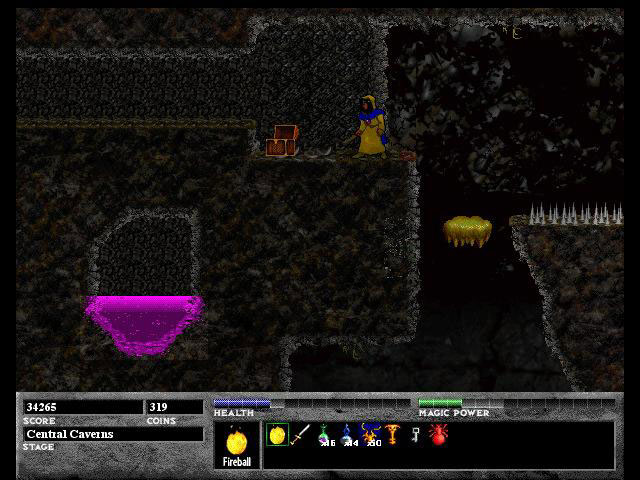
You can go to the bottom of this lake and head left to come across a door that needs a silver key as you can see in Picture 4. I show it now so that you remember where it is when I refer to the door later. Before you go back to the surface, go to the location that you see in Picture 5 and Spin Jump. You will have to do it a few times so keep an eye on your health bar so you don't run out of oxygen. After you're done, you will have gained some Red Xichrons which are worth more than the regular Gold Xichrons. Also, you should get into the habit of going to the bottom of every lake you come across for secrets like this. Now go back up to the top of the lake.
![]()
 |
 |
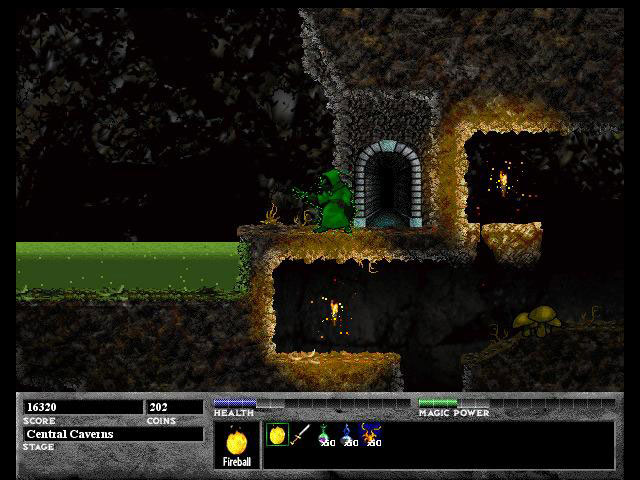
| Picture 6 | Picture 7 |
 |
 |
| Picture 8 | Picture 9 |
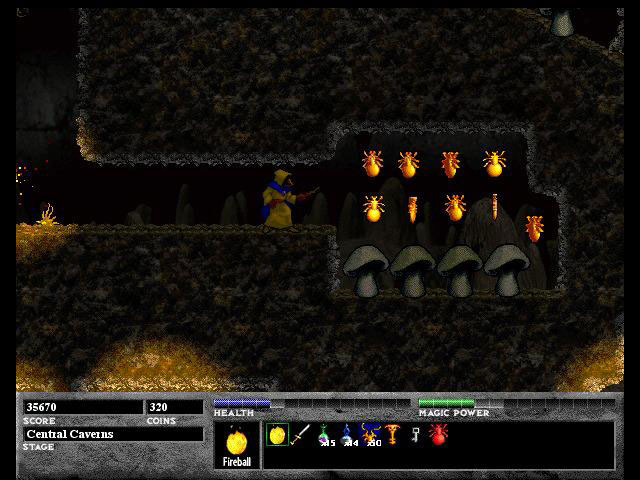
Just right of the lake is a block that you can climb on to read a sign that says "Good things come to those that wait." What does that mean? It means to wait as I am doing in Picture 6 for a floating platform to come by. Hop on it and you are carried to the right over a bed of spikes as I am in Picture 7. To the left of Picture 7 is a wall that you can jump on to get that chest and break the wall to the left of it to find a gem that lets you walk on acid. Grab it and run to the right where you can safely get all of the Xichrons without even having to jump. At the end of the lake you will find an interesting door that you can enter by standing in front of it and pressing up. Picture 8 shows the door as well as what you look like when you are protected against acid. When you are green acid can't hurt you and the green color blinks a few times before the effect dissipates to give you some time to get to safe ground. Go in the door and you will find yourself in Picture 9. You see a wounded Hobnobbit but he isn't very friendly and doesn't give you a lot of information. All he says is that you are the only Hobnobbit he's seen and even the master magic users were slain. He hints of even more powerful enemies than you've seen so far and then tells you to grab the crystal which will give you more magic power. Take it and rest up in the purple goo or Ziridium Brine which refills your back your health and magic. At the right of this room is a teleporter which brings you back to the teleporter at the beginning of the pool of acid. Stay on the teleporter to find yourself teleported to another small room with a knifethrower and a health potion. Since there is nothing else here, go back on the teleporter and you will be before the lake of acid on the same teleporter you used before. Now go back to just right of the lake and revolving platform.
![]()
 |
 |
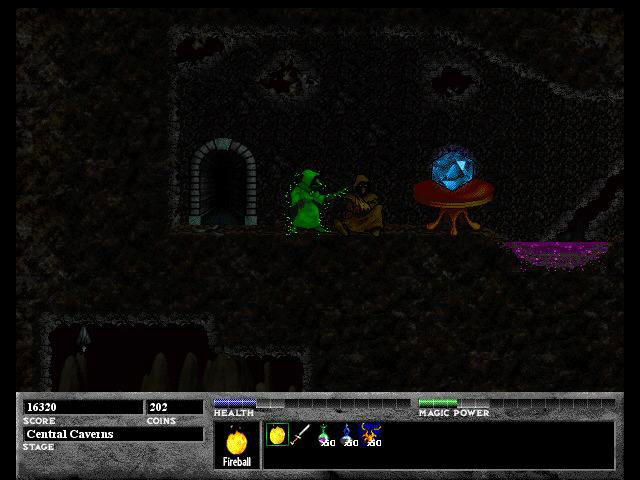
| Picture 10 | Picture 11 |
 |
|
| Picture 12 |
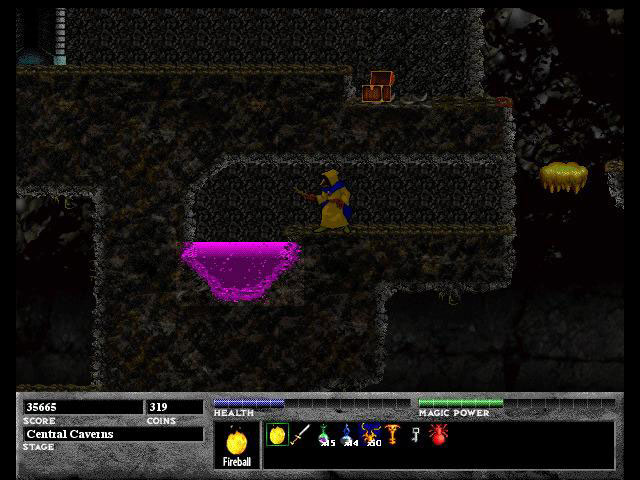
We sure have traveled a lot for not making any headway. Now we can move to the right, past the small pool of acid to see the column of Gold Xichrons as shown in Picture 10. Head on down to kill some knife throwers and spiders. At the very bottom you will come across a save point. Simply destroy the wall to the left of the save point to grab some more Gold Xichrons as shown in Picture 11. Go back to the entrance and fire to the right as shown in Picture 12 for some more Gold Xichrons. Climb on out to get back to the main level and head on right to the next secret.
![]()
 |
 |
| Picture 13 | Picture 14 |
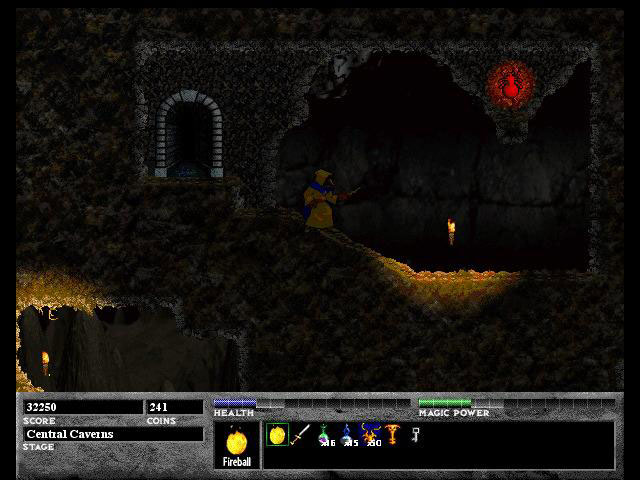
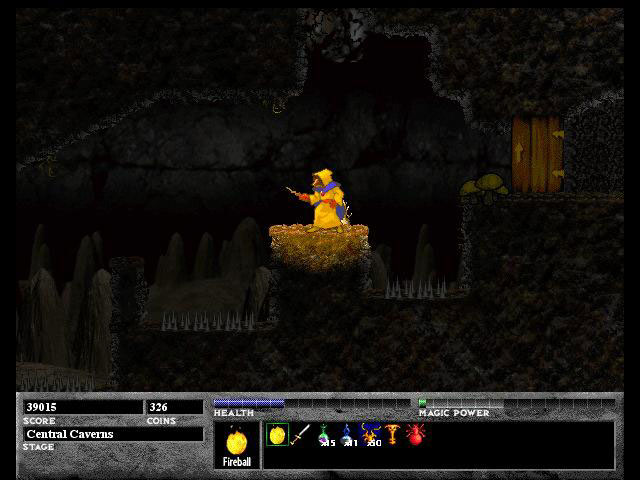
Now you can go to the right until you see Picture 13. You have to cling to the right wall and climb down until you're in the same spot as I am in Picture 13. Fire your fireball to the left until you make a tunnel that you can go through. You will soon get to some Red Xichrons, sparkling torches and an Invincibility power-up as shown in Picture 14. Just be sure to explore this cavern before heading back up the same way you got here.
![]()
 |
 |
| Picture 15 | Picture 16 |
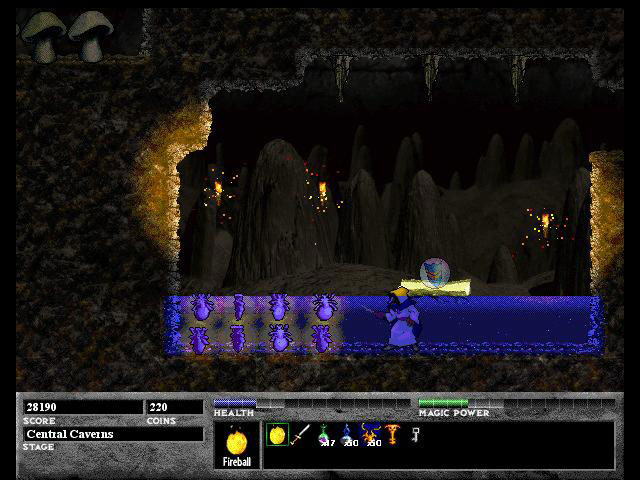
Head right and you will see a big lake with two piers on either end and the usual spikes at the bottom. Jump in the lake and head to the bottom. Going to the left leads to the same spot that you went earlier go to the right. In Picture 15 you see Ferazel wondering just what I'm waiting for and a partially destroyed wall to his right. Keep on firing your fireball to reveal a tunnel that takes you to another door. Go in there and you will find yourself in a small cavern with a Red Xichron and some very hyper frogs that will jump all over the cavern. Just use your rapid-fire fireball and soon they will be pixel dust. Picture 16 shows the cavern after I got rid of the frogs. Get the goodies and then go back to the top of the lake.
![]()
 |
 |
| Picture 17 | Picture 18 |
 |
 |
| Picture 19 | Picture 20 |
Go to the right of the lake and get some of the revolving platforms so you can jump on the wall. In Picture 17, I'm about to do the same thing. Climb on up and take a ride on the floating platform that takes you all the way up. There is a sword-wielding ugly guarding the chest so kill him, get the chest, and break the wall to the left of the chest. In Picture 18, I show you what it looks like after you follow these instructions. Go to the end of the tunnel to find another door that leads you to another small cavern with lots of sparkly torches and rock mounds that drop health and magic crystals. You can see this cavern in Picture 19. Take what you need and head back to where you came from. Get back on the floating platform that goes up and down and you see some more Ziridium Brine to your left, but how do you get to it? Use your trusty fireball spell and aim towards the Ziridium Brine. It will take a few shots to break the rock but don't worry about wasting your magic because once you reach the Ziridium Brine, it will replenish your health and magic. Picture 20 shows the result of the rock tunneling that you just did.
Now you just have to head to the right, killing all of the enemies and exploring as needed until you come to a path that leads to what seems to be a dead-end behind a door that needs a Gold Key to be opened. You will probably have found this key by now but if you haven't, instructions on where to find it will be at the end of this guide. If you go through this door now, you will make it to the Eastern Reaches but will not have found 100% of the secrets. I recommend that you go back to the beginning of the level and back to the door that needed the silver key. That way you will get the 100% of secrets and going to the Western Reaches is a better idea because it has some important items that you will need later. So head back to the beginning of the level. You should have a silver key and if you don't, where you can find it will be at the end of this guide.
![]()
 |
 |
| Picture 21 | Picture 22 |
Enter through the door and hop on the platform above the spikes as you can see in Picture 21. Above Ferazel's head is a tube that leads upward. Jump up and climb until you see Picture 22. You will have to break the wall and head left to find yourself in a small room with a chest and a sign. The sign says that this is a private stash and if you take it, some guy will be very angry. While you're standing there, a bat flies down so aim up and fire your fireball. Quickly the bat will be killed and you can get the chest for yourself. The chest contains a sack which gives you a lot of money and points. leave this area and head left to kill the rest of the enemies. Once they are all destroyed you can leave the Central Caverns and head towards the Western Reaches.
I found a small bug in the counting of secrets in Ferazel's Wand. If you go to the Western Reaches, you will be counted as only finding 92% of the total secrets, However, if you go to the Eastern Reaches it will say that you found 100% of the total secrets. I did nothing different except going to a different exit and so one of the numbers has to be wrong. I am hoping that it's the 92% reading so I am showing the 100% picture I got from taking the east exit.
![]()
 |
 |
| Picture 23 | Picture 24 |
 |
|
| Picture 25 |
How to find the Silver Key
Travel on the main level until you see the scene in Picture 23. When you
first get here there will be goblins with swords and shields on the bottom
two of the three ledges. Kill the goblins, go to the top ledge, and head
to the bigger ledge to your right as shown in Picture 24. Head to the
right past a table and a chair until you see the same kind of goblin with
a sword and a shield. He's guarding a chest which contains the silver
key.
![]()
How to find the Gold Key
|